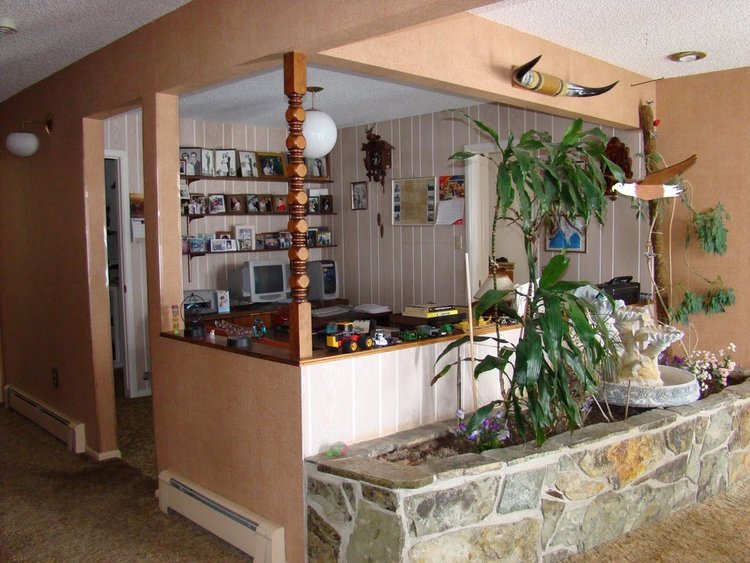
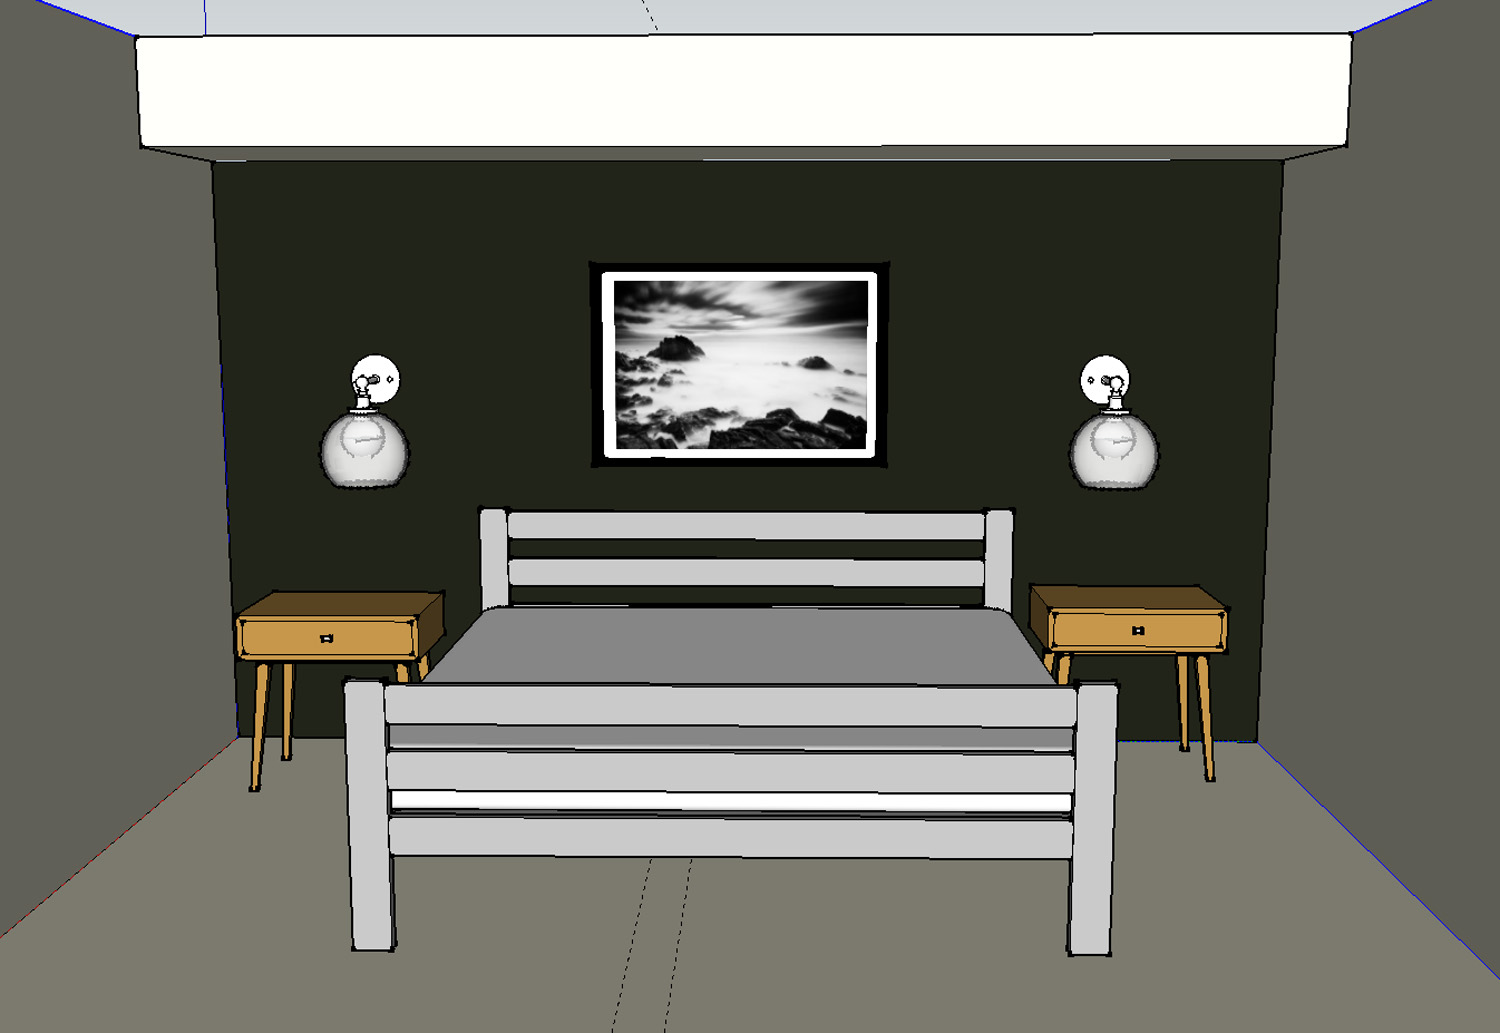
Hang with me for one more Master Suite progress post—this isn't the one where I get to show you pretty pictures. Lest you think we don't work for the reward I have to show you the dirty work. :)
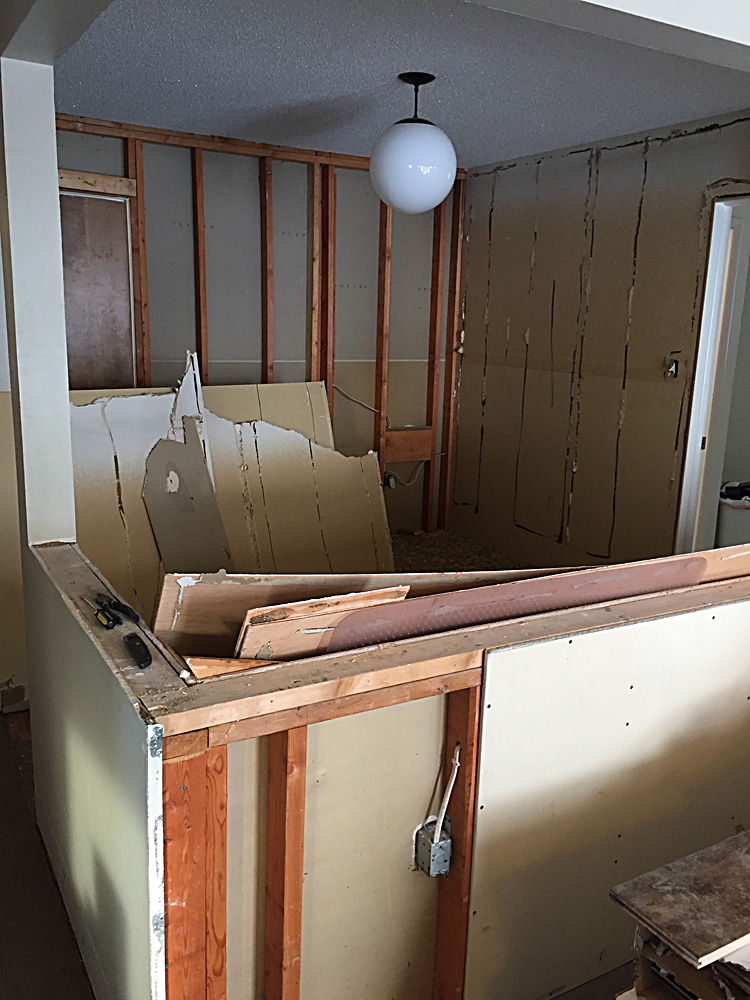
Paneling and drywall coming down in the office
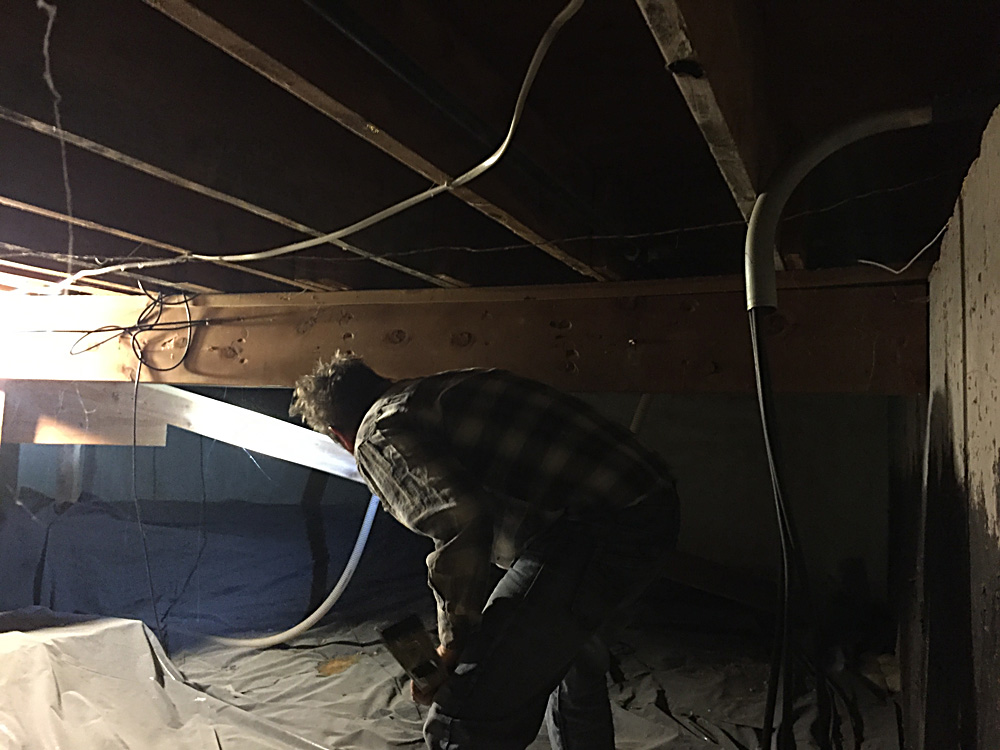
This is a terrible photo, but this this Tom in the crawl space under the office inspecting the structure to see why the office floor bowed. There are plenty of settling issues in this house and we ended up using a jack to shore up this beam.
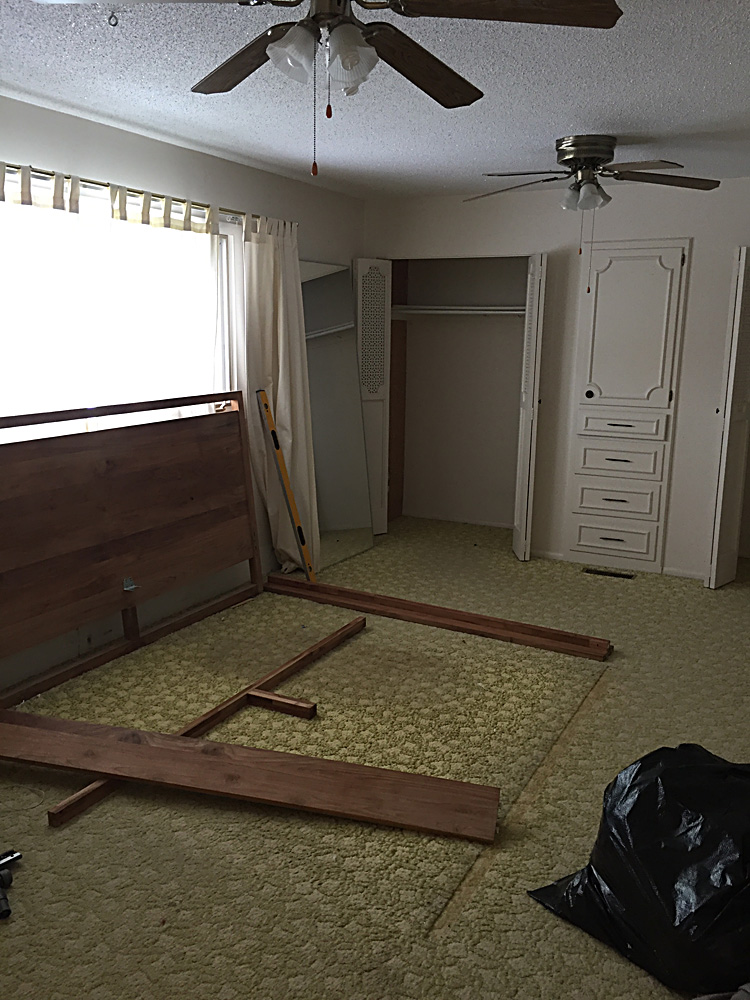
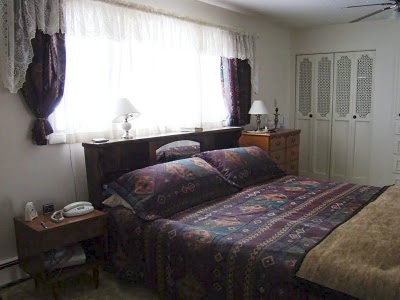
While dismantling the bed it was very clear from the few patches of preserved carpet under the bed area how much wear it had received over the past 46 years. (Eww.)
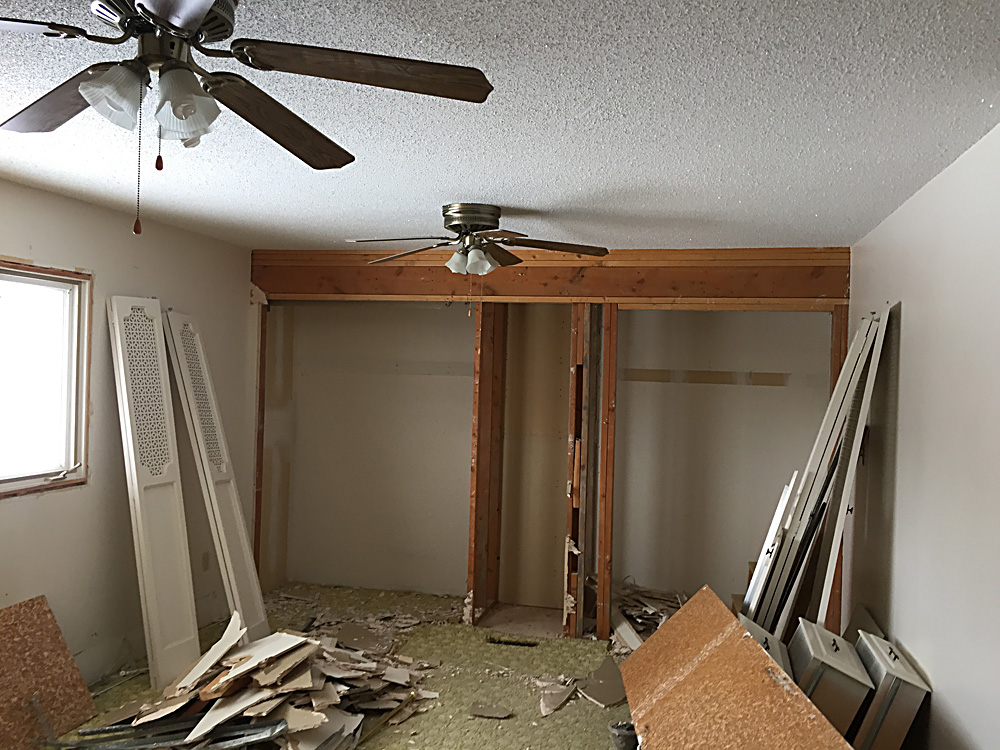
We had not one, but TWO ugly, dusty, rattly ceiling fans in this room! This pictures shows the closets coming down.
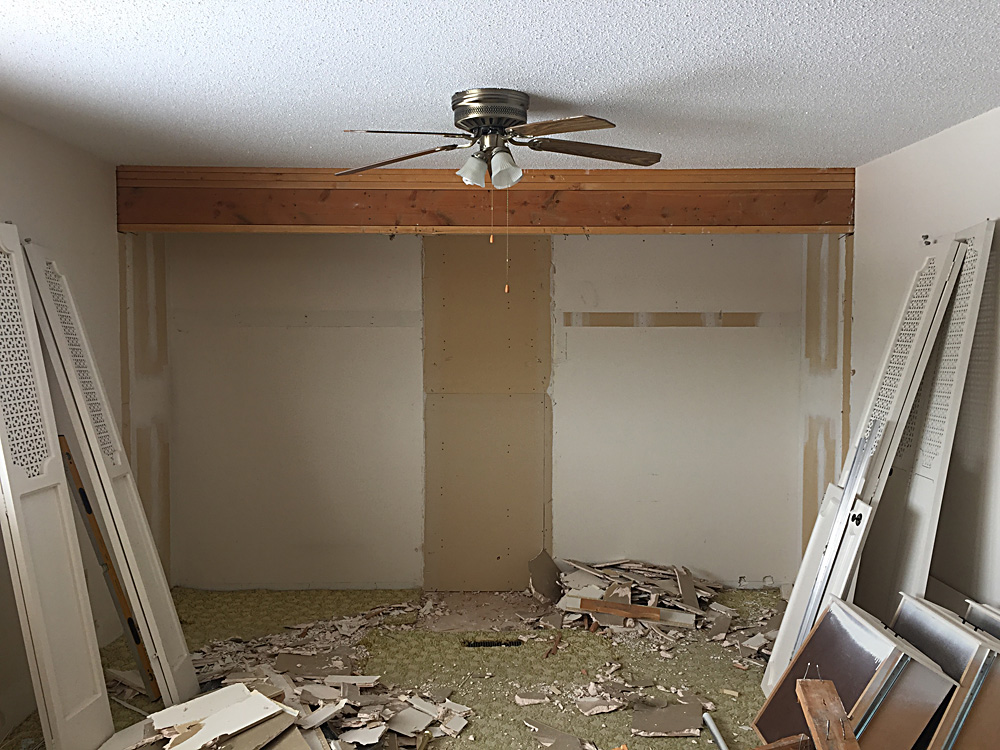
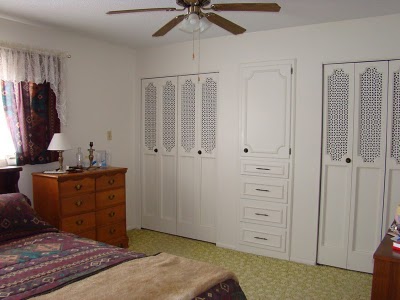
Who thought it was a good idea to use such a giant header beam above the closets?
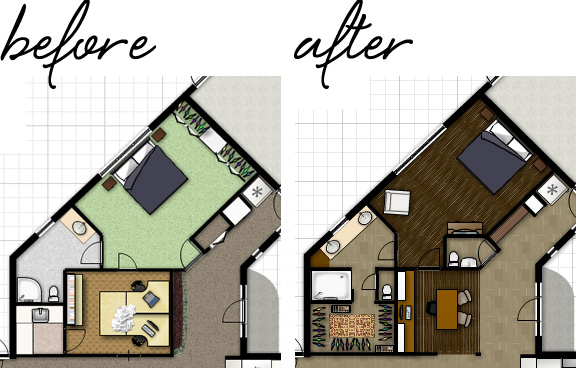
At this point we were faced with a decision about how to deal with this header beam. Yes, we investigated up in the attic to make sure it wasn't structurally necessary. It ran parallel with the ceiling joists. The outside walls were supporting the weight. The biggest concern was how to get it out since it protruded into the outside walls! We actually considered leaving it in place and building a soffit around it, like so:
In the end, the guys took it out and the house didn't fall down. We had a bit of a hole to fix on the other side of the interior wall. No bigs.
After the demo process we:
- relocated a few walls
- resheetrocked and taped the new walls and attempted to blend them in with the old walls
- scraped all the popcorn and retextured the ceiling
- repainted walls and ceiling
- installed new lighting and added outlets
- installed new wood floors (not so easy!)
- installed all new trim
- hung new doors
I'm working on the next post to show you how far we have come on this project (not done... but it is kind of gratifying to look back on this list and think about all we accomplished). Stay tuned!