Thanks for all your nice comments about this project yesterday! As a reminder, the listing is here, and I shared background and photos of the exterior in Part 1.
Today I'm going to show you the best part—the interior. I would have absolutely LOVED to have decorated and styled this house, but that was not in the budget, nor did it make sense for an owner who was planning to sell. So, you will have to use your imagination to see the potential in this empty house!
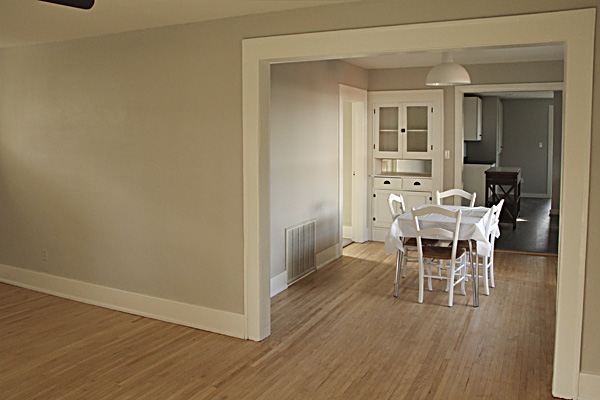
You walk into a light and bright space. (I decided to lead off with the pretty photos this time. The before photos are below.) The walls were all painted a uniform neutral color (Sherman Williams Agreeable Gray) and trim SW Pure White. The original floors were stripped and refinished to their natural color.

I just love the transom window in the living. The ceiling fixture was updated to a scale and period appropriate design.

The fireplace and all its charm was left alone!
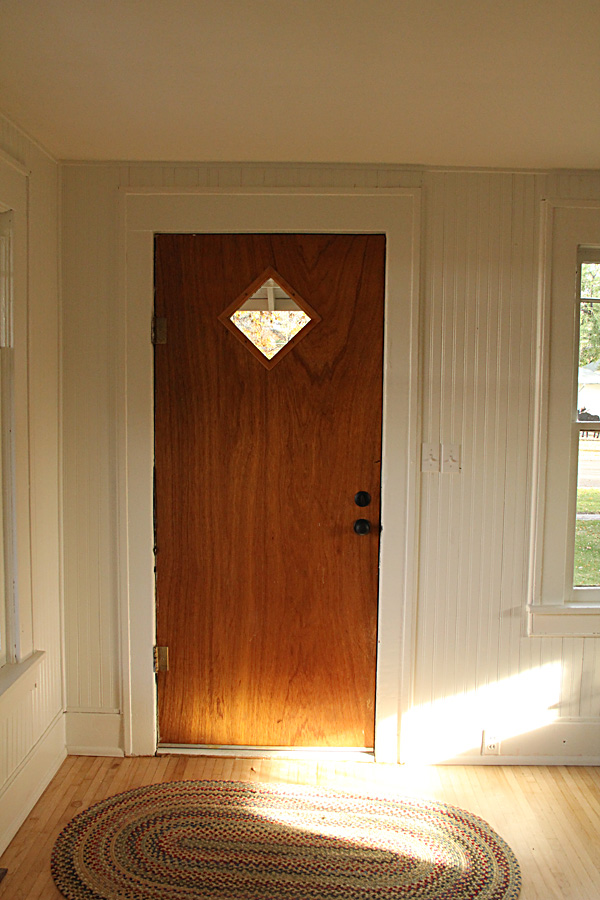
Sunlight streams in the windows so we capitalized on all the natural light by painting the bead board and trim a bright white. The original door was updated with a new lockset.

Looking into the dining room, the ceiling fixtures was updated to a vintage fixture that features a milk glass top and metal shade.
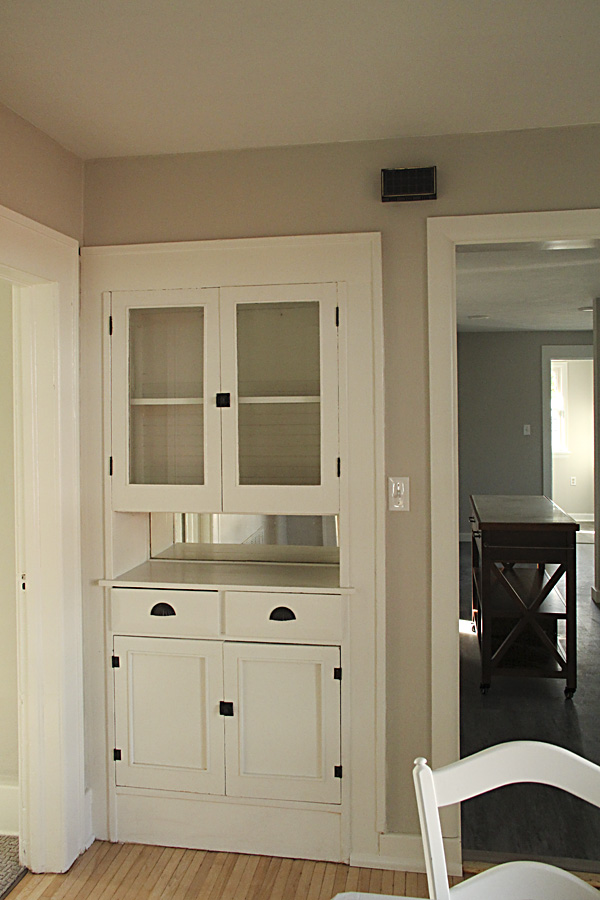
The original built-in was left in tact but we repaired and repainted everything to freshen it up.
One last view looking from the kitchen out to the dining room:

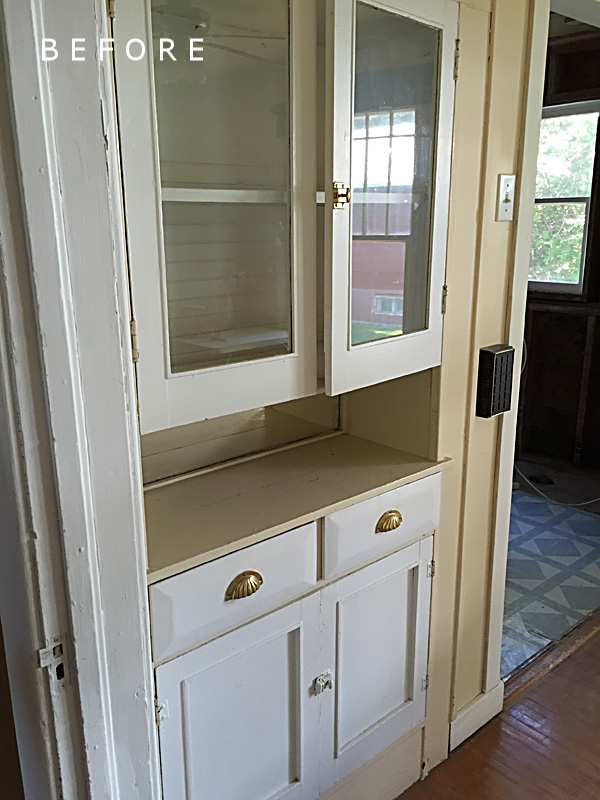
And here are the before photos. You can see how much darker everything feels! Also featured: oversized ceiling fans, wallpaper borders, and carpet adhesive.


It isn't my intent to drag this out and leave you in suspense, but since it takes me time to put these posts together, and to avoid making these posts too large and hard to load, PART 3 will come to you tomorrow.
Thanks for touring!