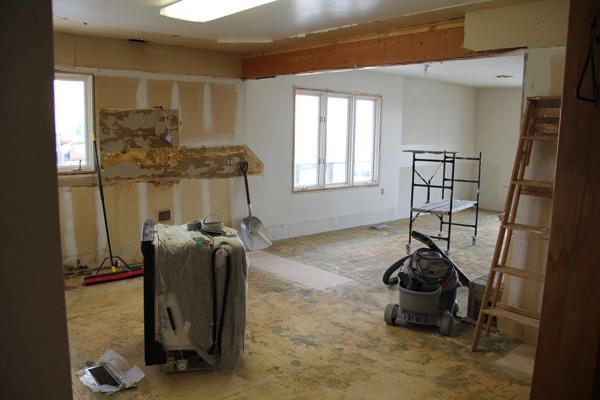
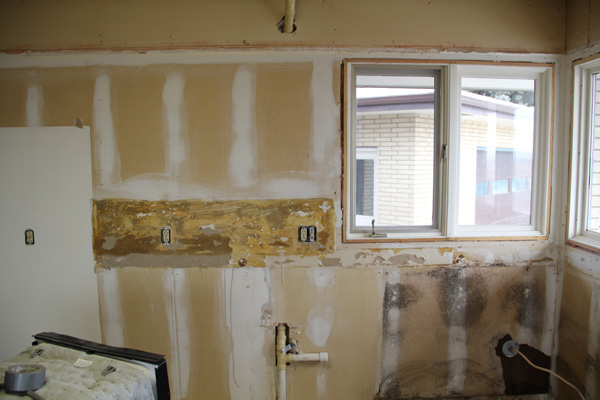
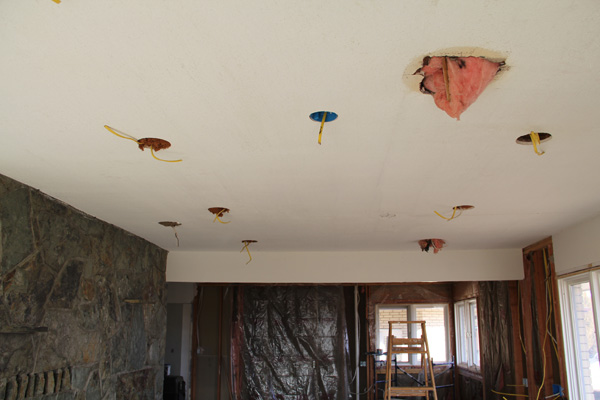
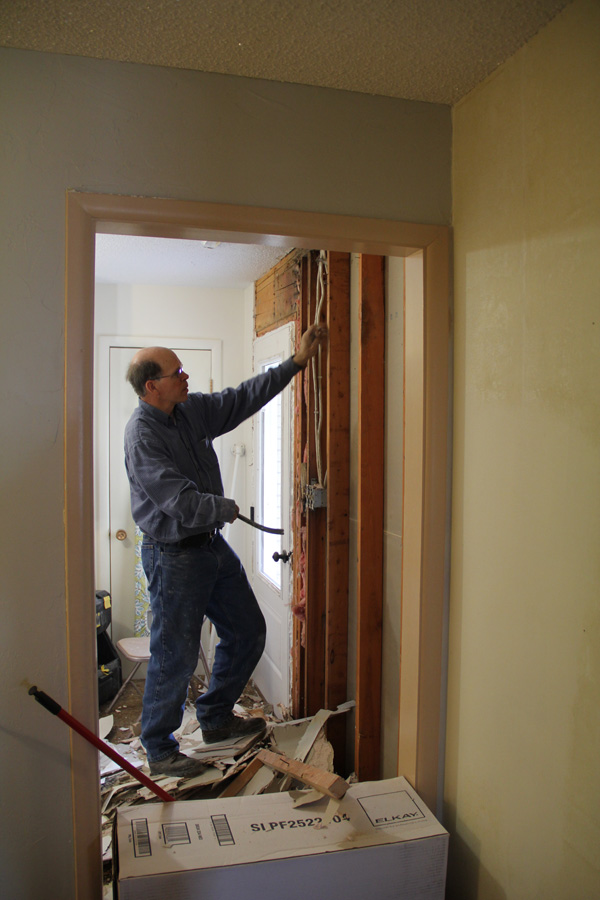
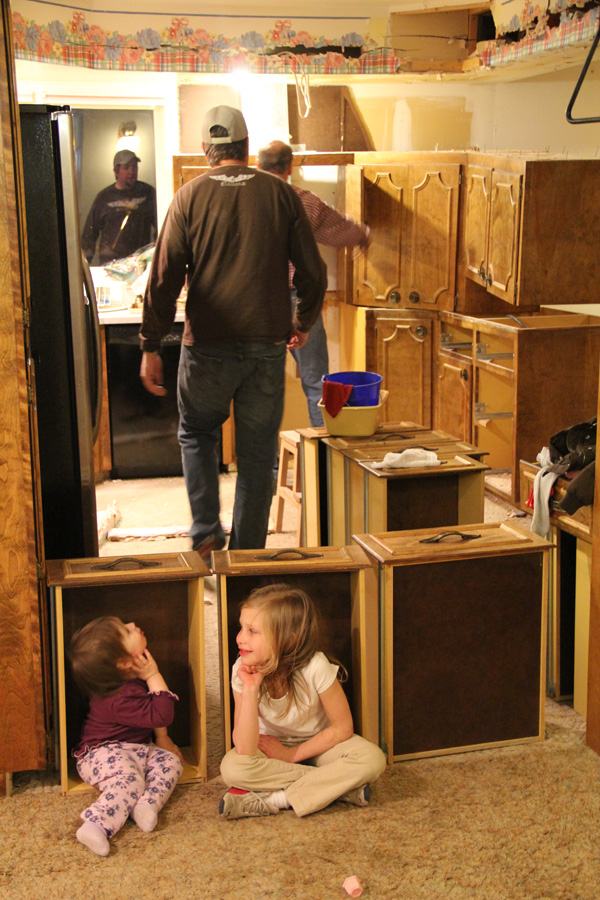
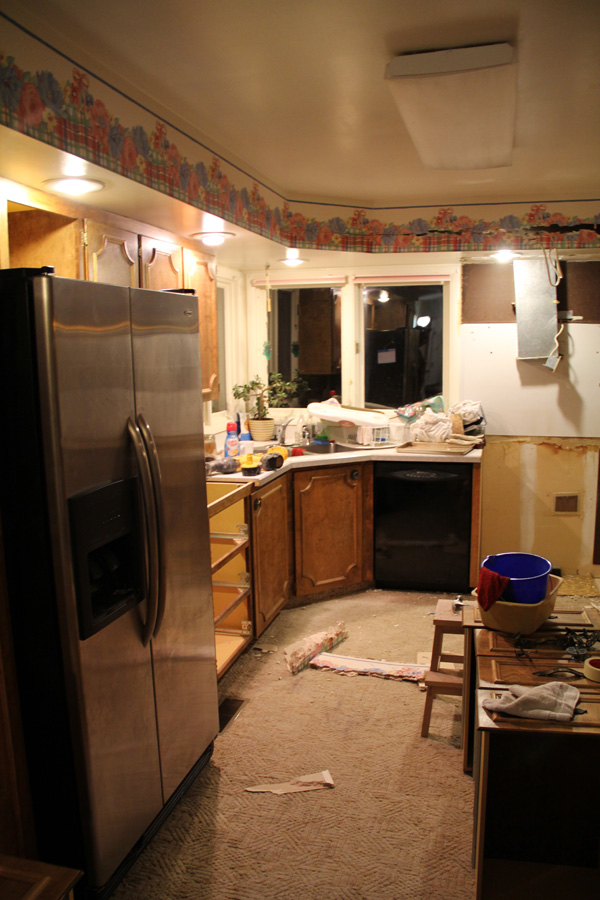
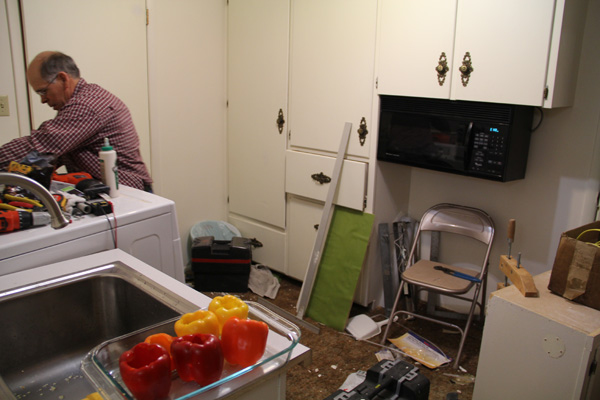
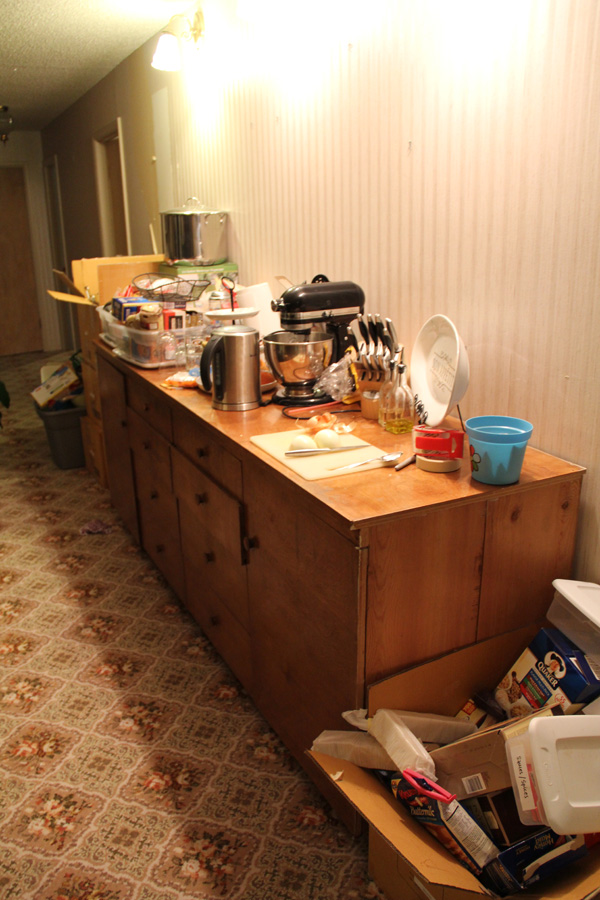
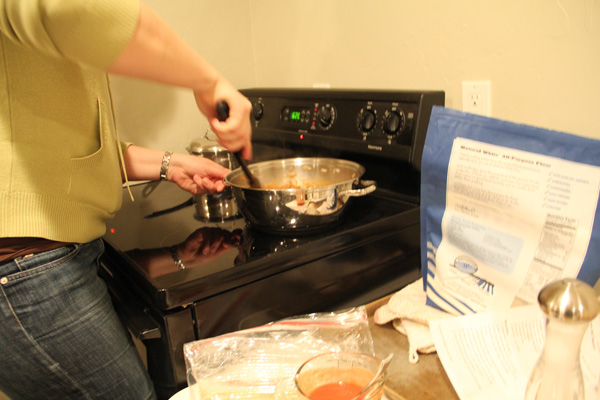
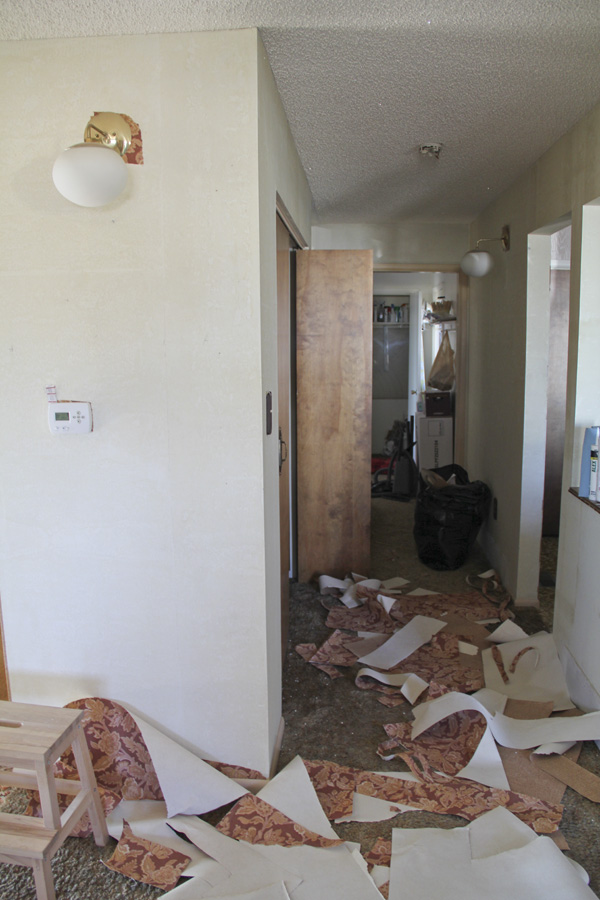
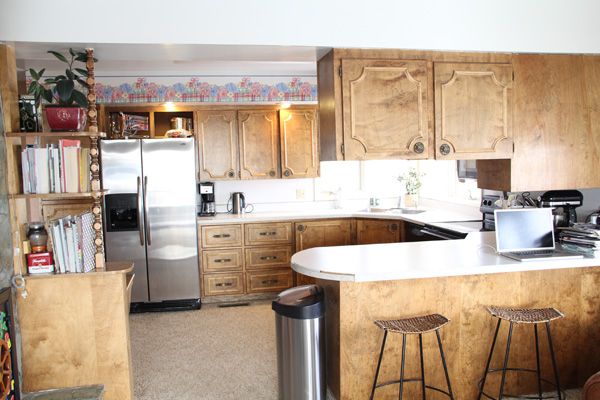
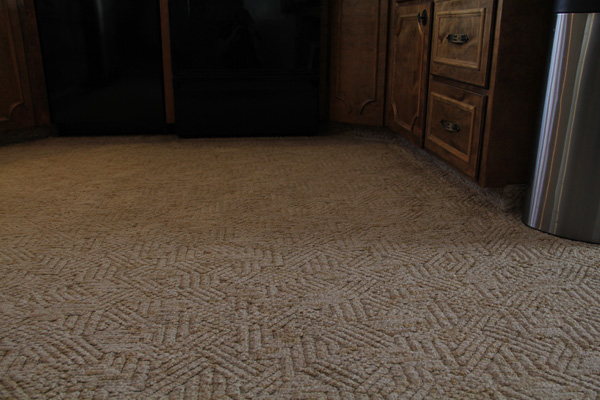
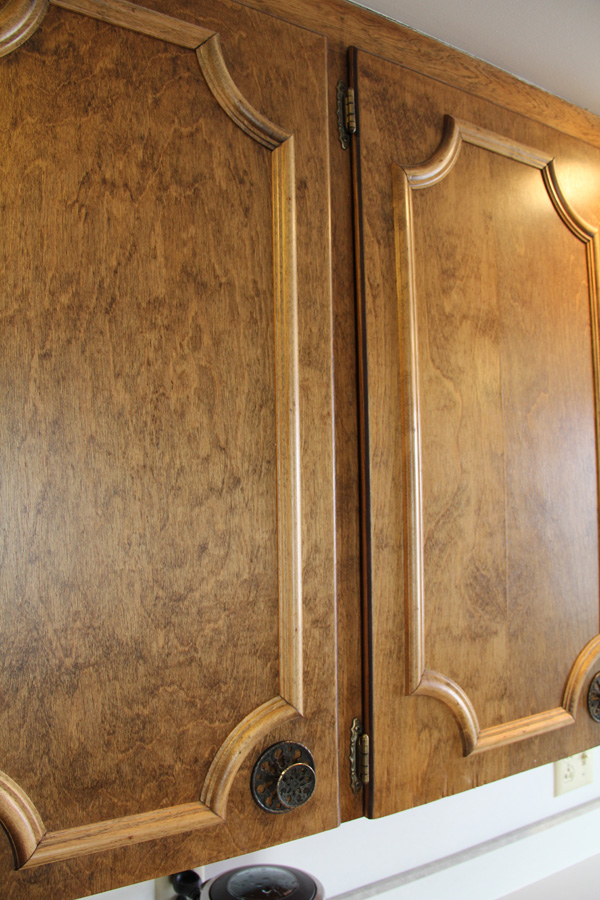
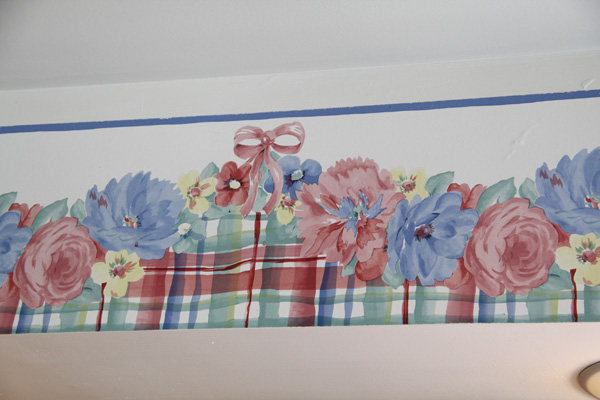
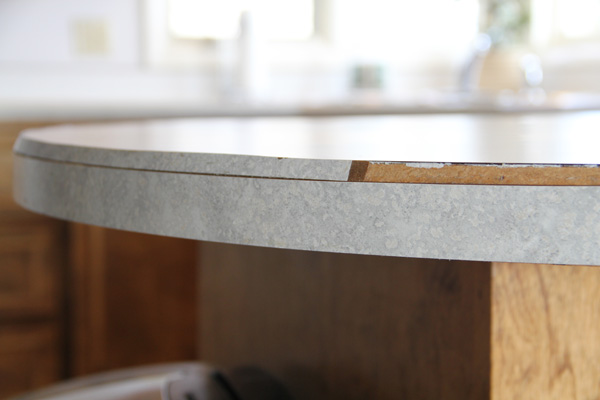
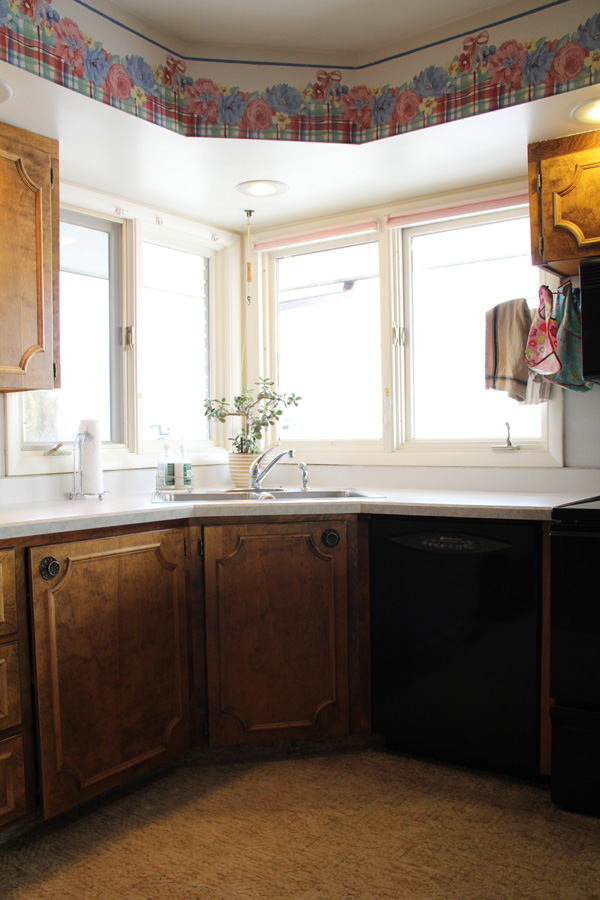
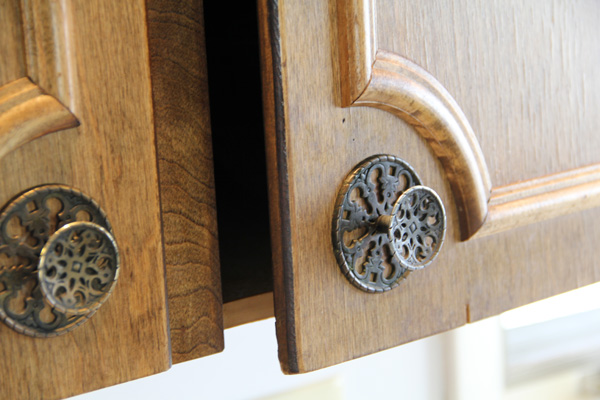
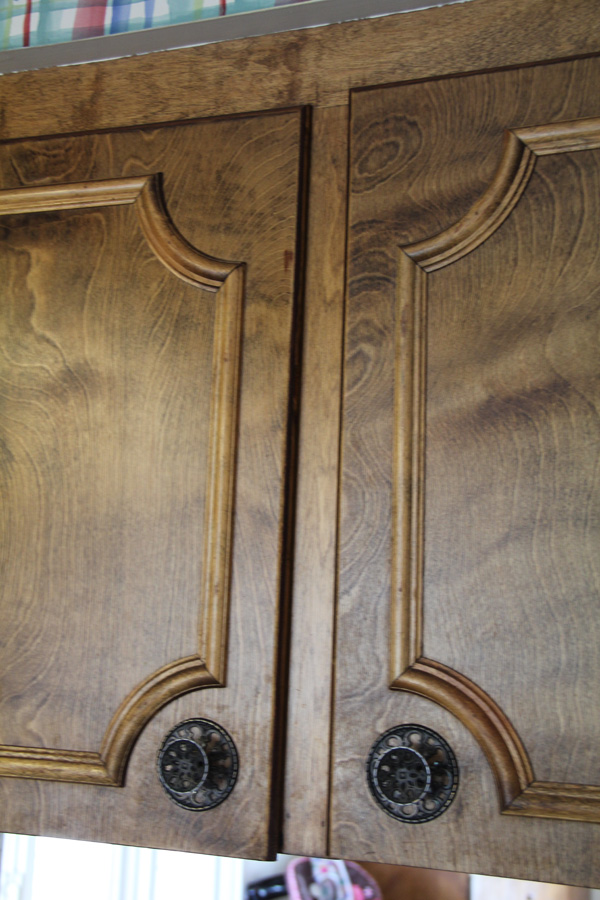
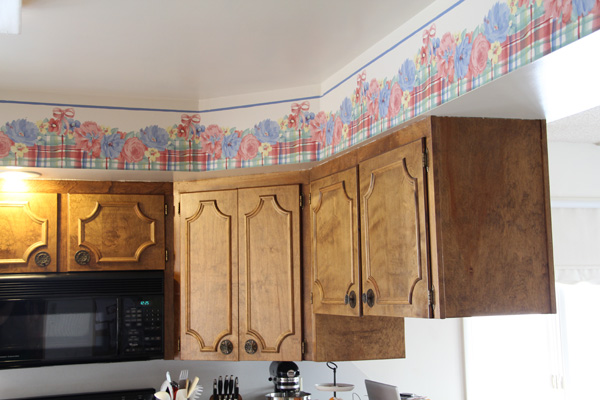
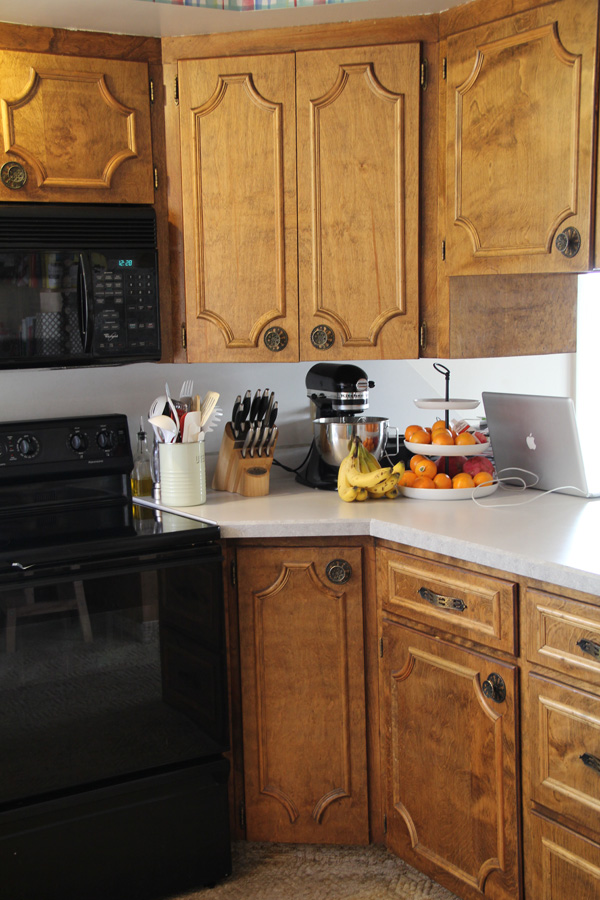
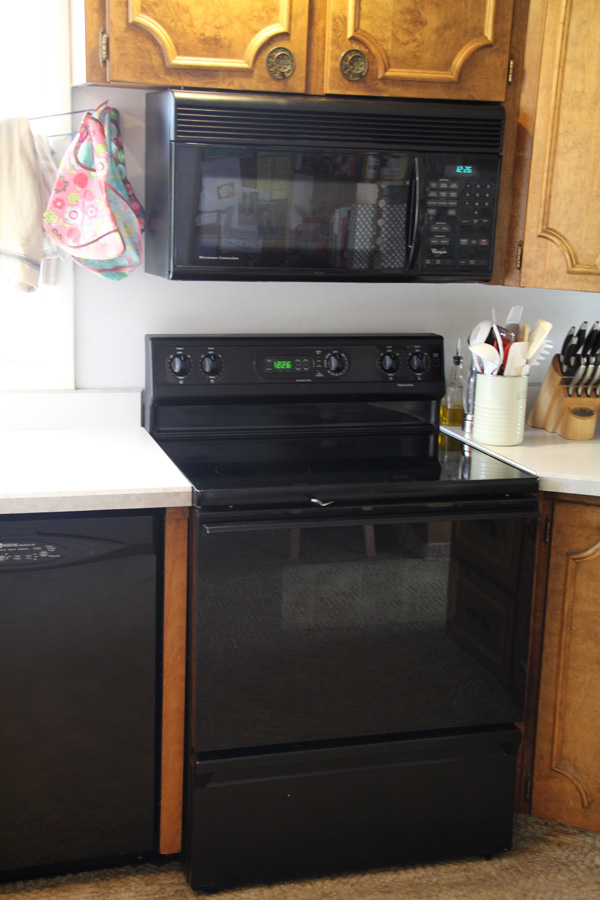
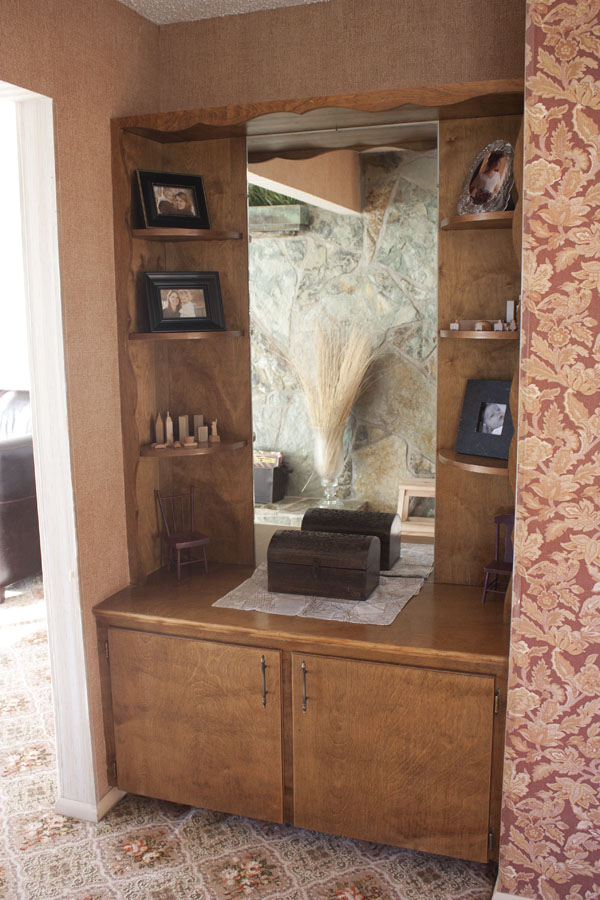
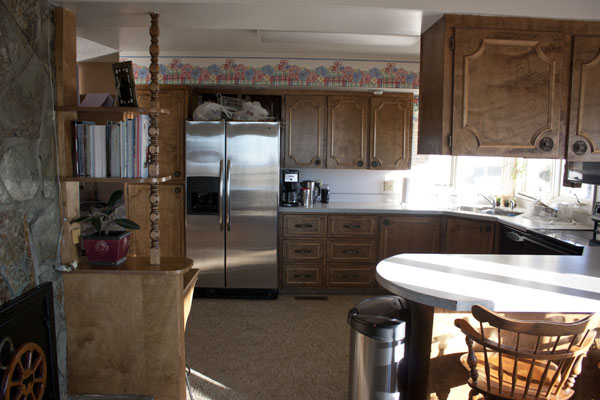
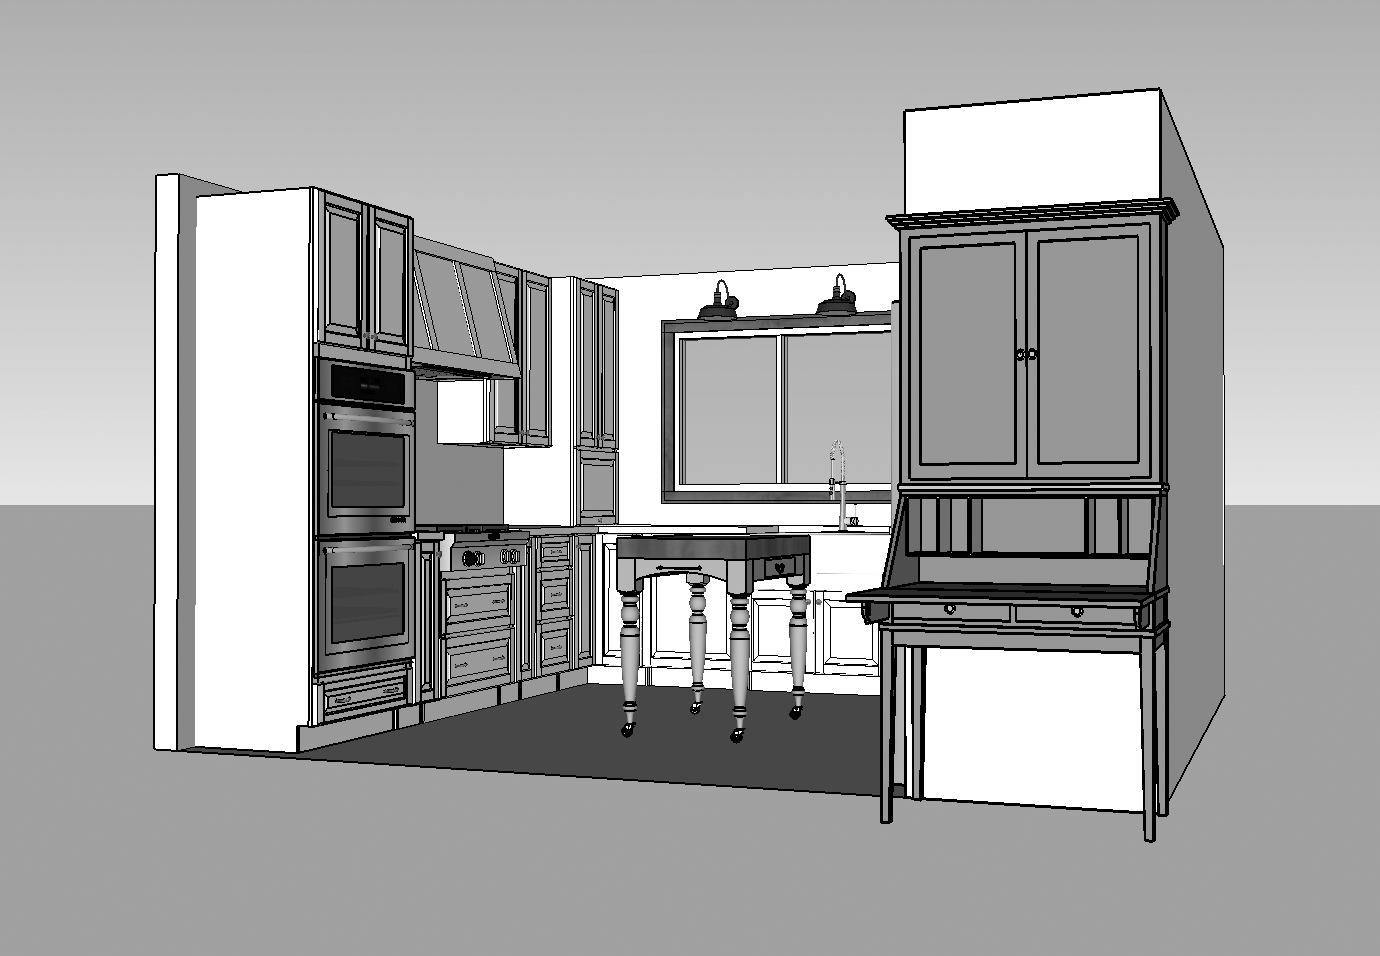
This farmhouse kitchen has some redeeming qualities. Double ovens (do they really need to work?), two-tone cabinetry, and cushiony baby-knee friendly carpet. Nevertheless, these clients are ready to take this time capsule into the modern generation.
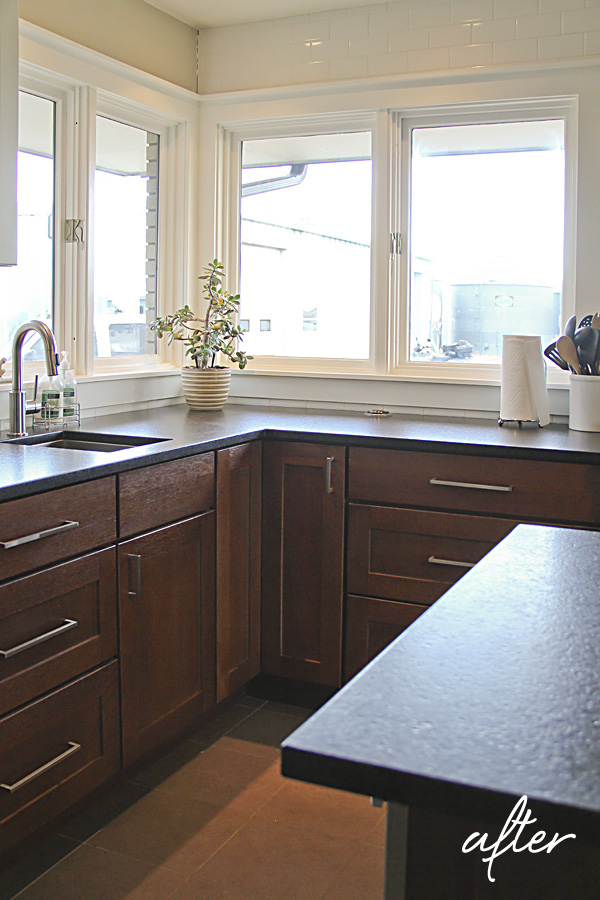
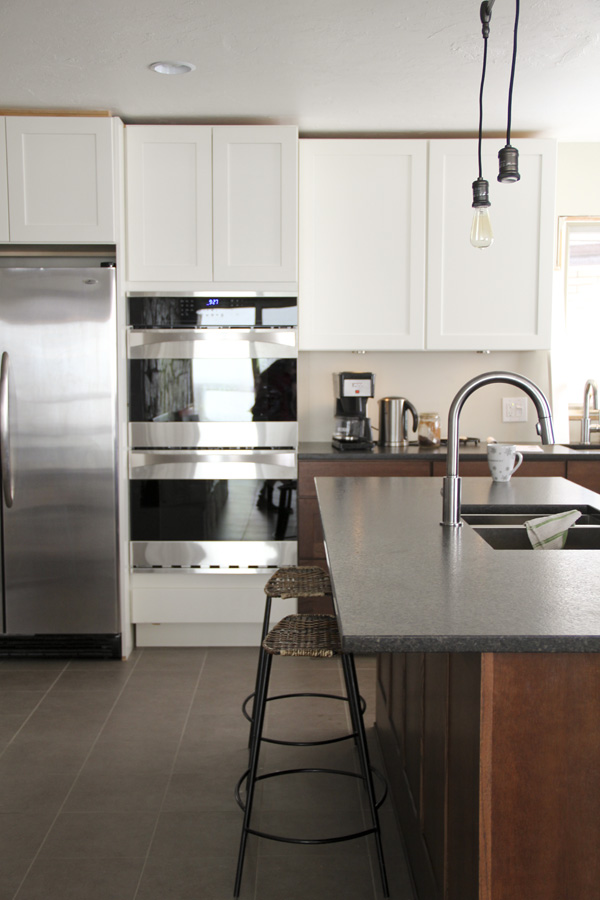
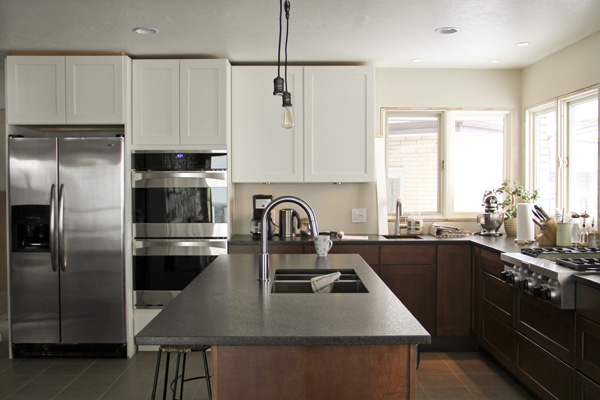
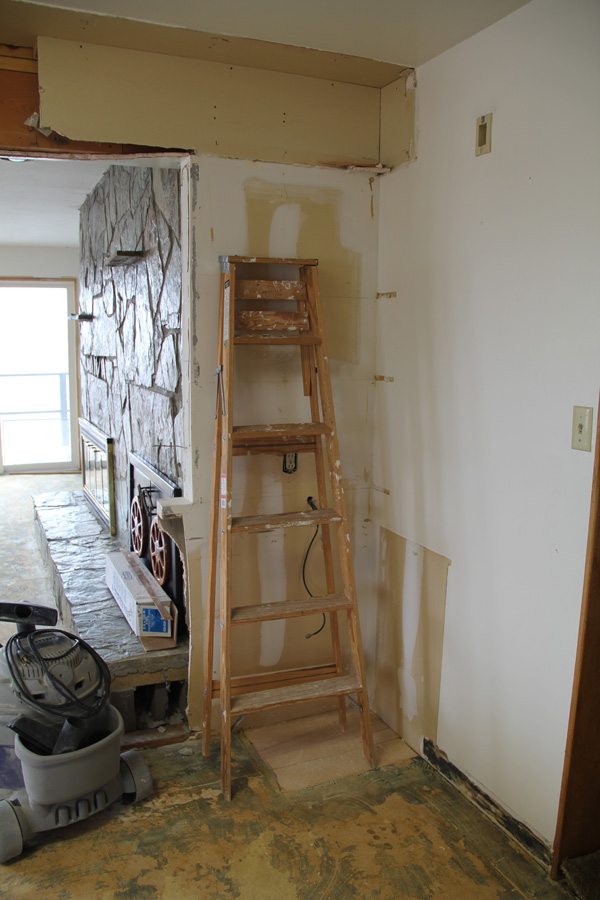
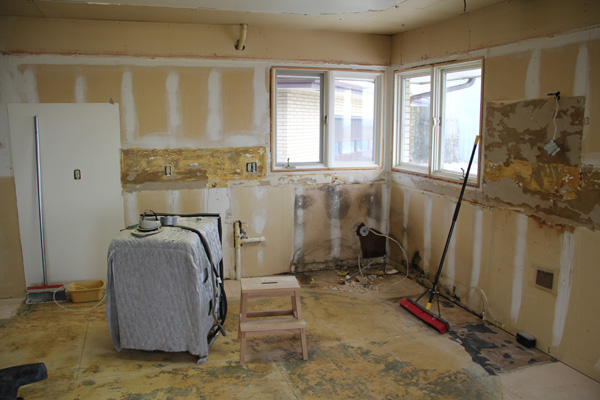
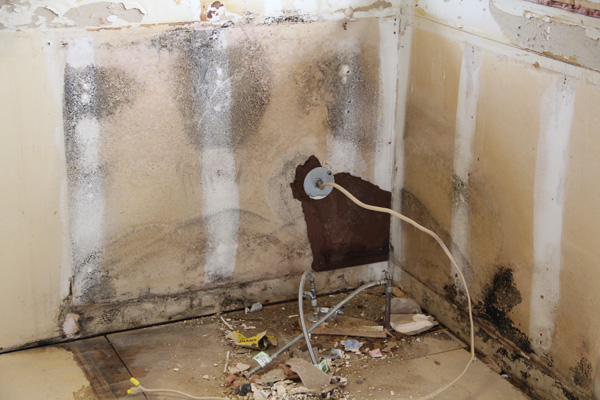
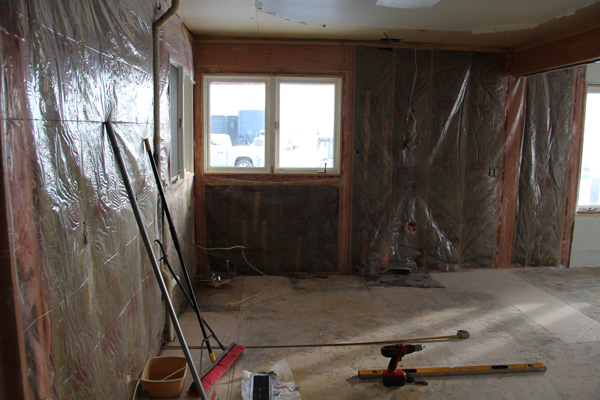
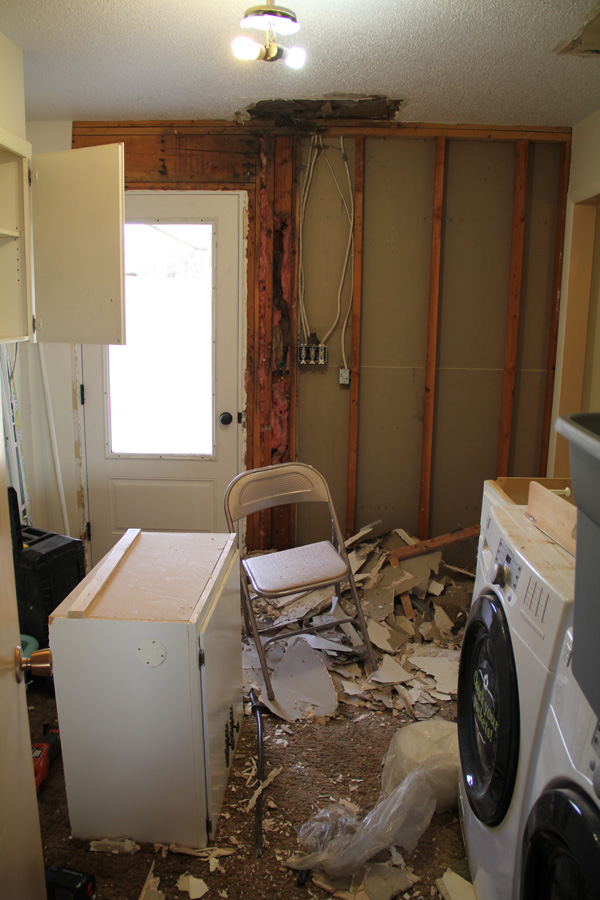
THE BEFORE


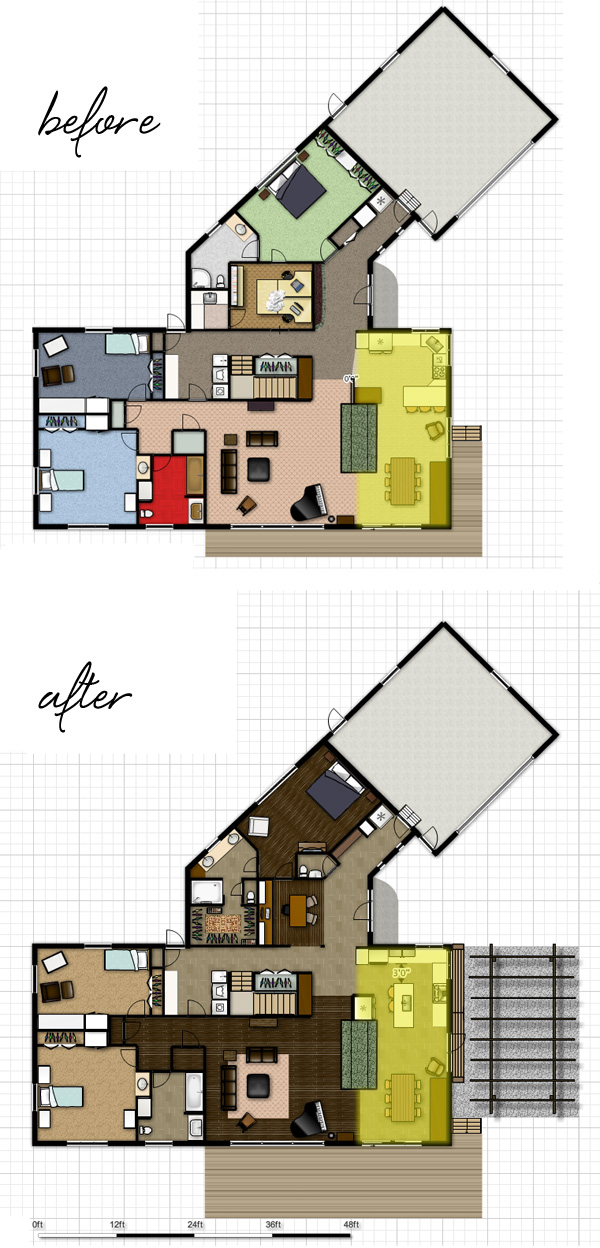
LAYOUT PLAN
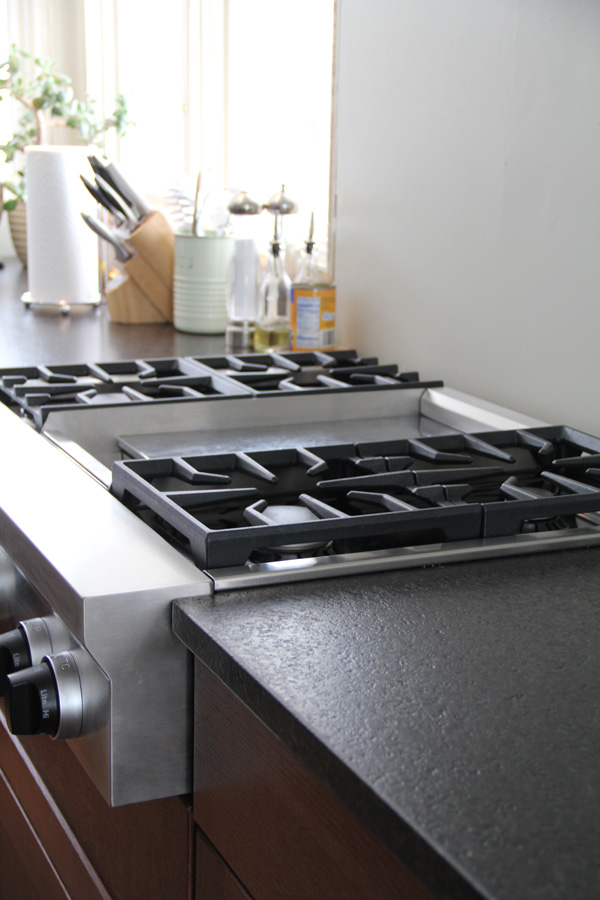
The U-shape layout is functional, so the plan is to keep the layout mostly the same and eliminate the soffit and take those cabinets to the ceiling. The clients like having 2 ovens, so this plan includes double ovens and a 30" gas range.
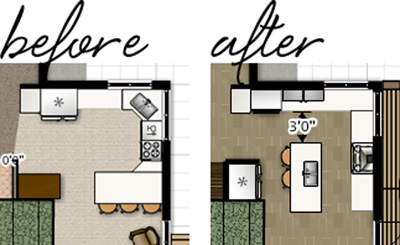
To save a little money on appliances, I offered an alternative that included a wider range combo instead of double ovens. Including some open shelves allows the kitchen to open up more to the next room and create the illusion of a wider space. Which would you choose?
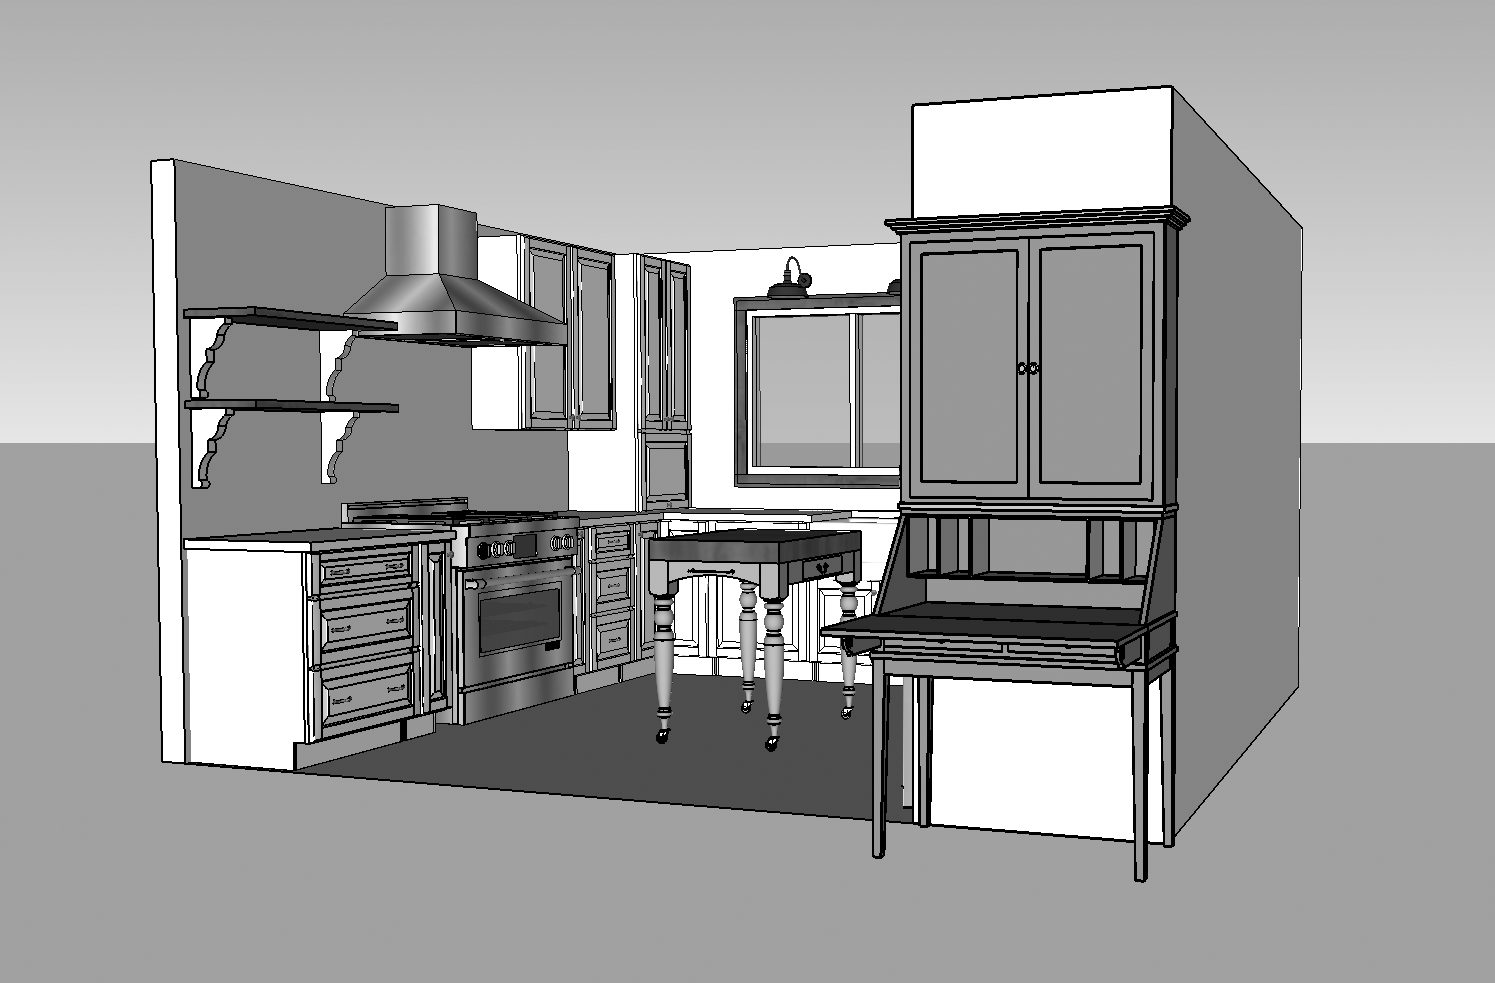
There was not enough room for a stationery island, but there is enough rom for a small mobile island that could be wheeled out of the way as needed.

The new plan allows for the sink to be centered under the window. (Symmetry is our friend!) We also added two appliance garages flanking either side to hide counter clutter. With no stationery island, instead of pendants we added sconces above the window. Farmhouse style lighting an an apron sink will add the farmhouse focal points to this kitchen.
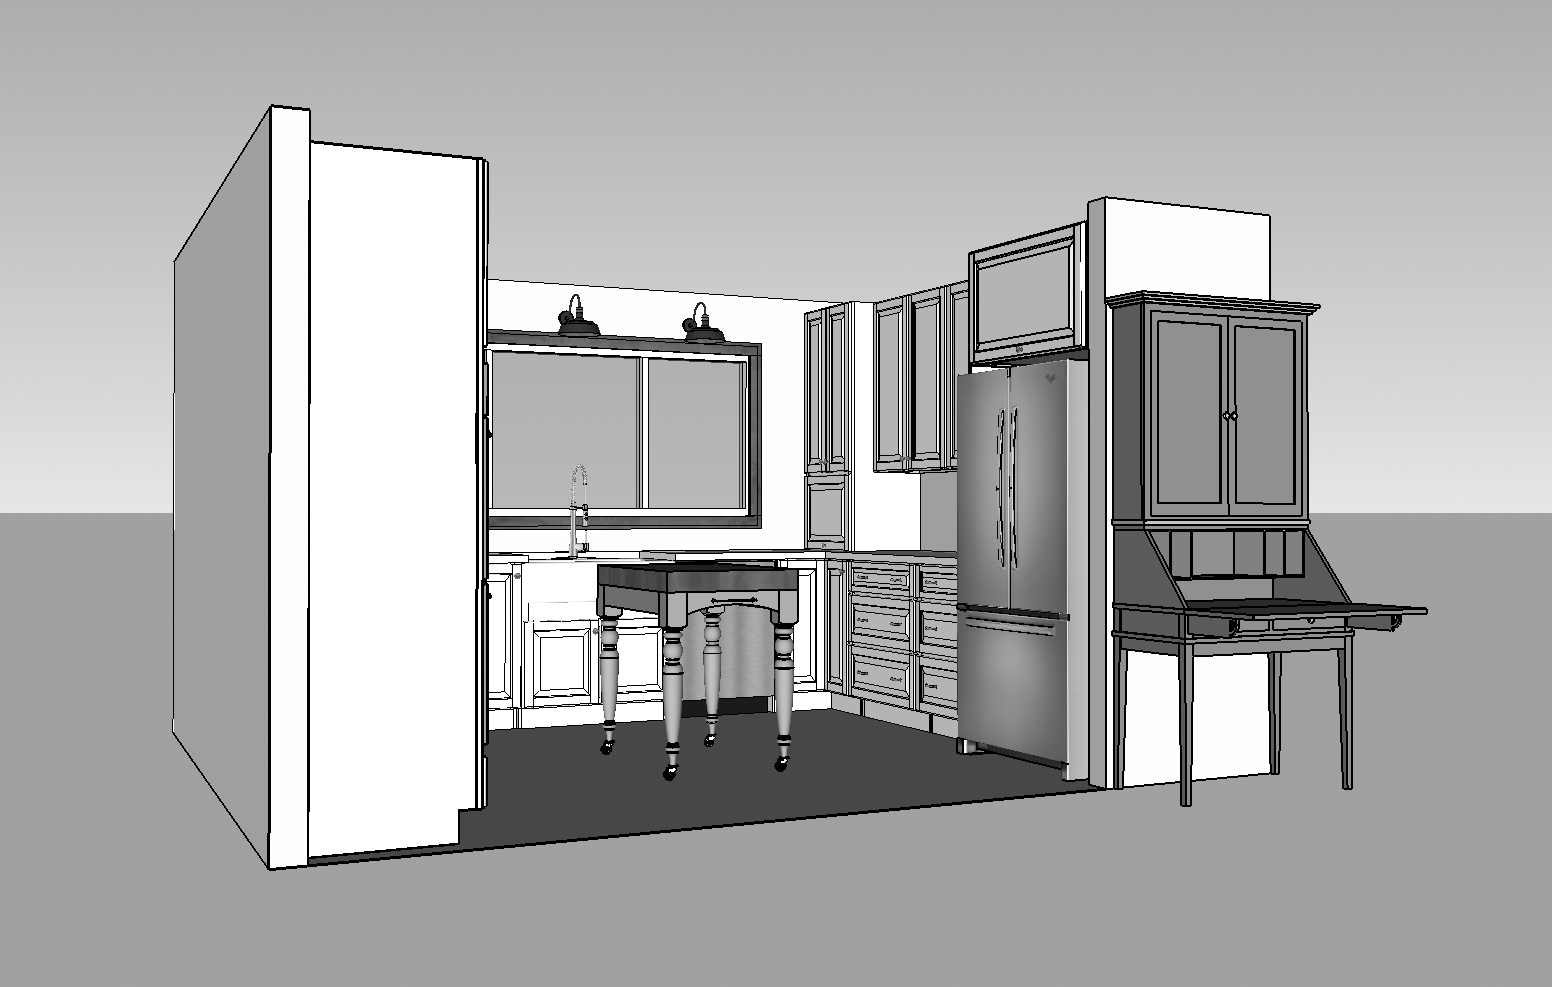

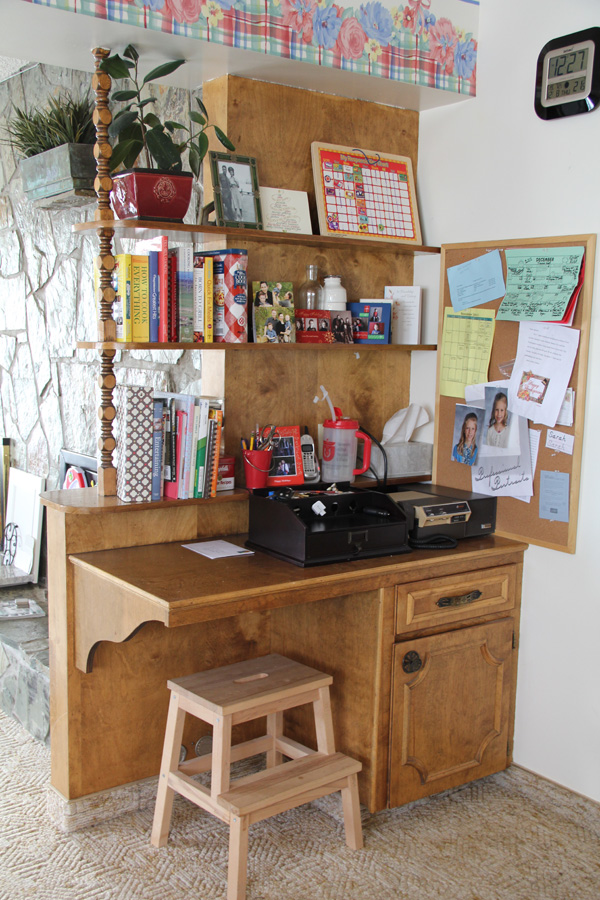
The right side of the kitchen remained much the same but now accommodates a full-size refrigerator. The client suggested a secretary in place of the old build-in counter area. We have used as many deep drawers throughout as possible. They are so much more functional than deep cupboards!
THE DESIGN PLAN
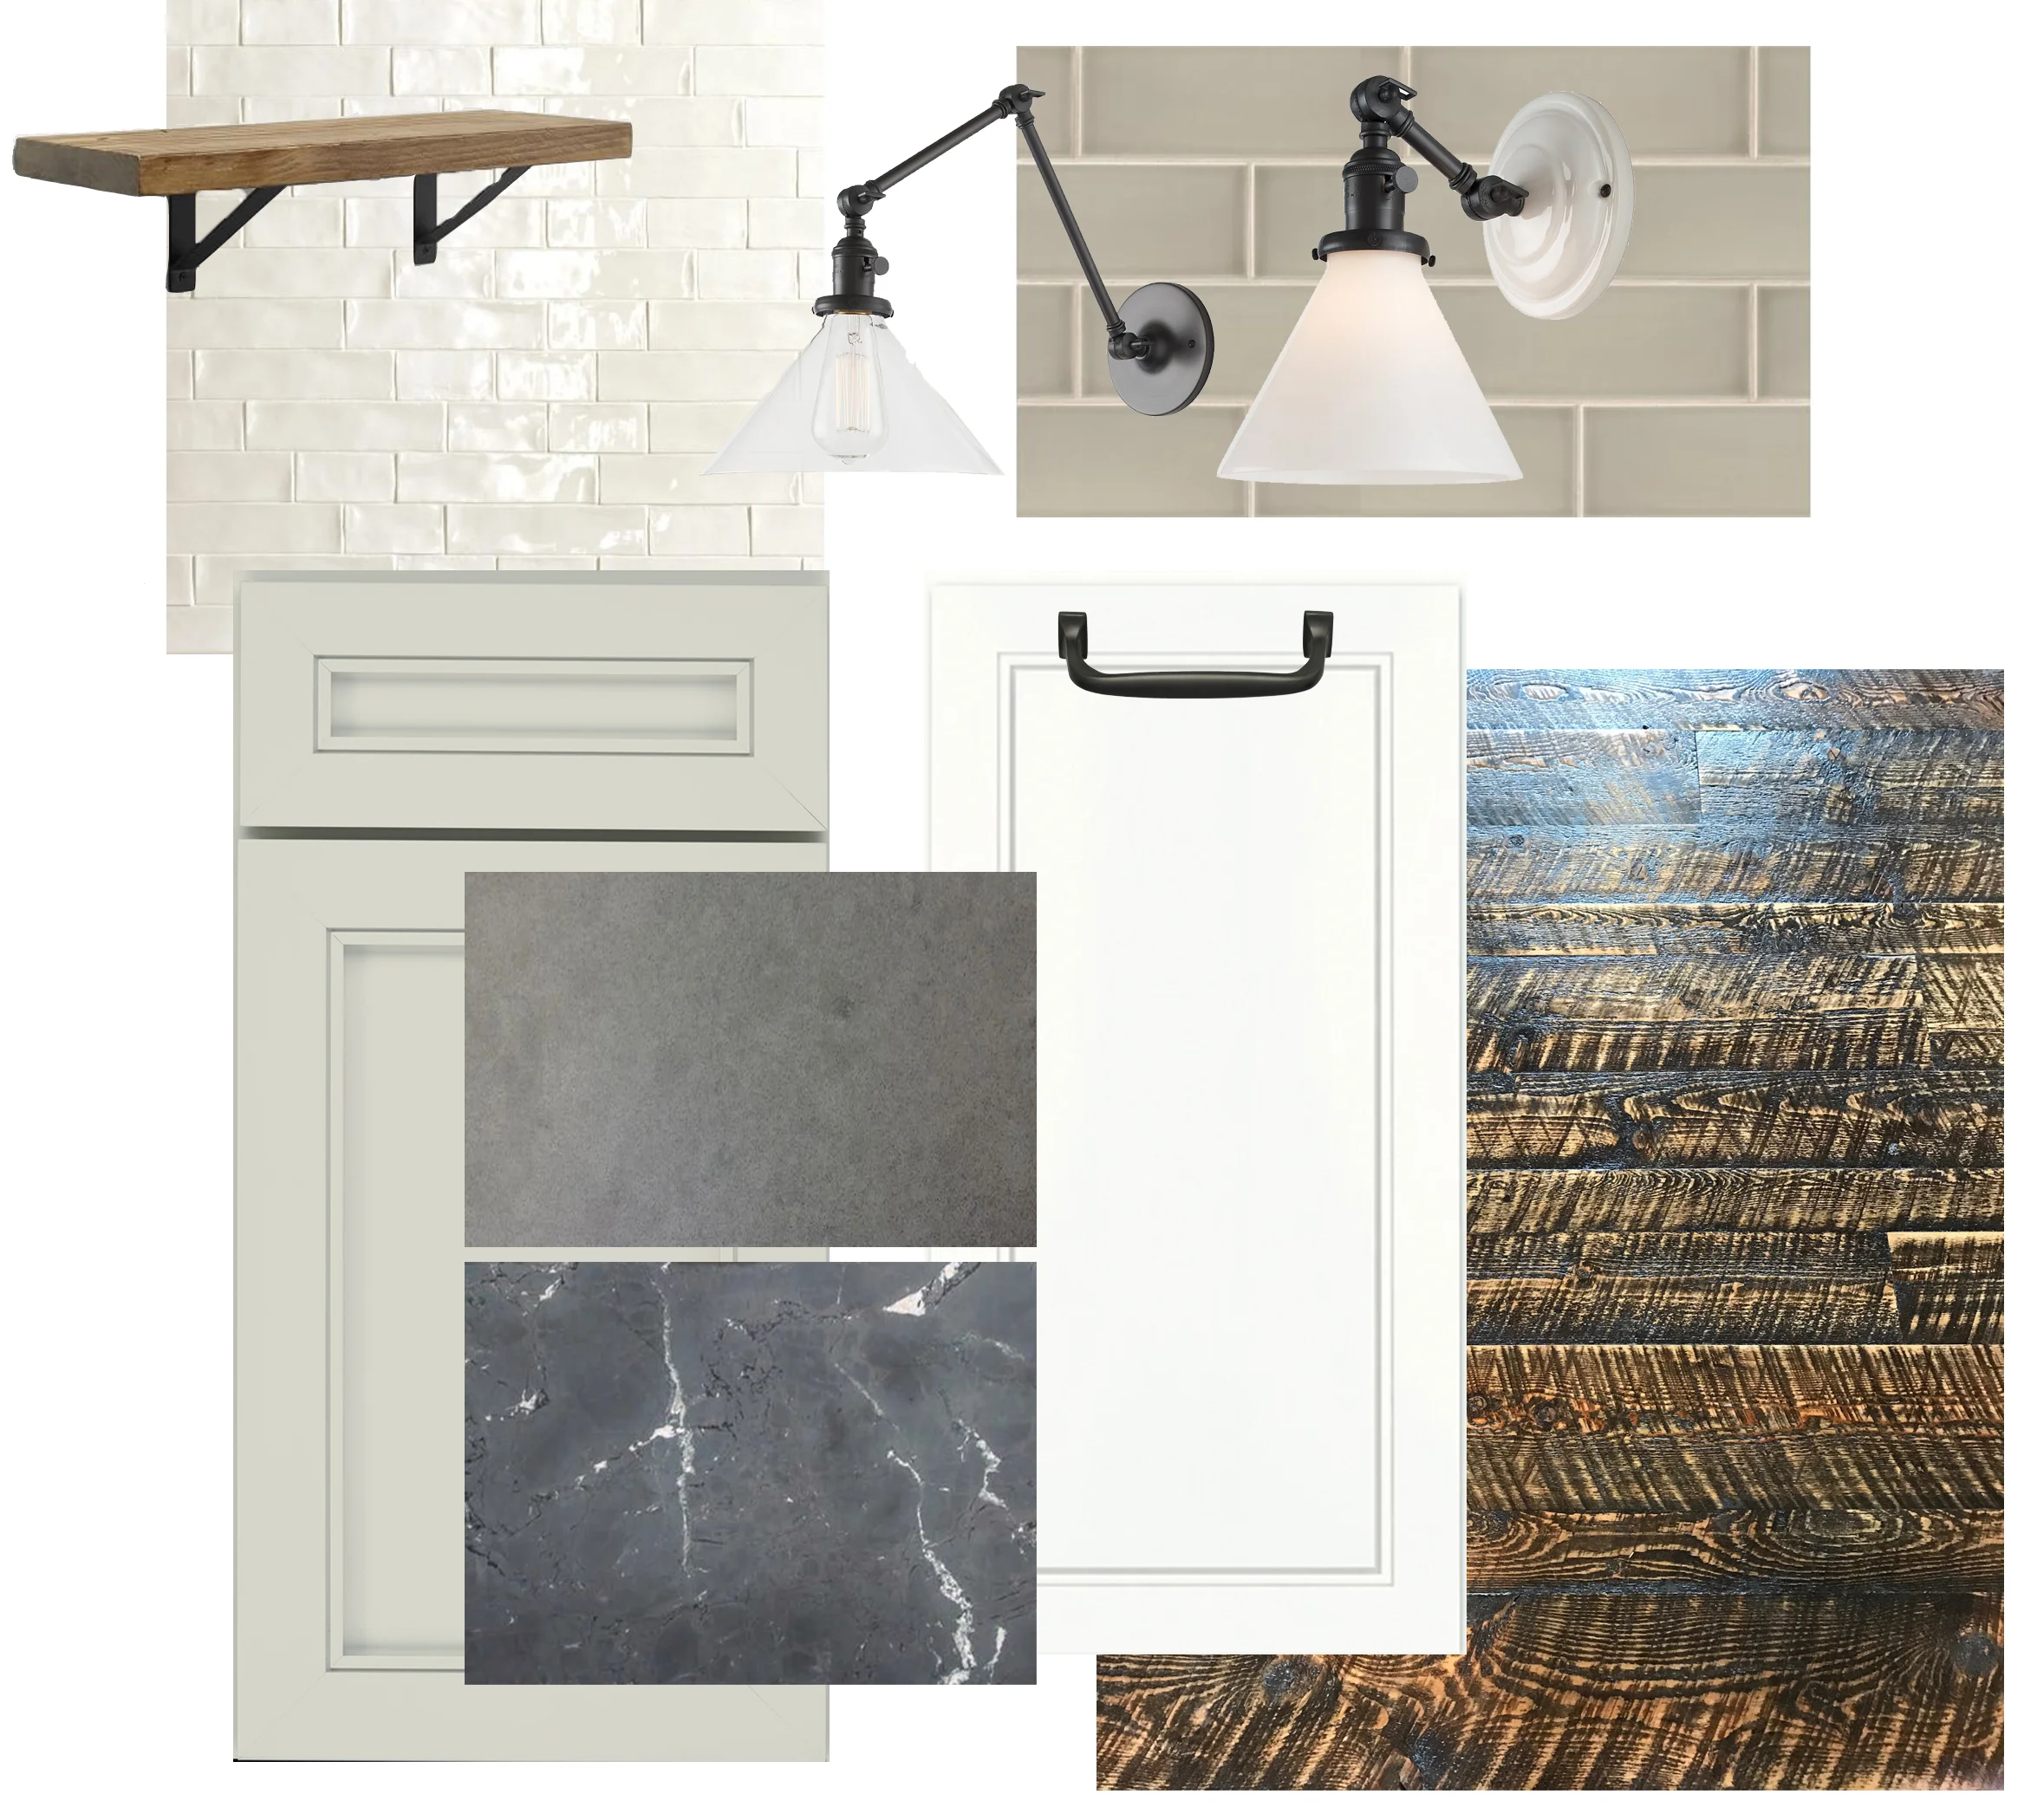
The client already had rough sawn wood flooring in their neighboring living area. I suggested they continue this same flooring into their kitchen area to add continuity and warmth to the space. I presented 2 cabinet options to them; White cabinets with a handmade light gray tile backsplash, or a lighter putty gray cabinet with white subway tile. My favorite is the second option. How about you?
A medium gray countertop, white apron sink, and farmhouse sconces complete the picture. I would add some more wood elements—either through open shelving or as an accent on the hood vent. The client requested a stainless hood, but as an alternative I suggested some wood styles that would warm up the look. I would top off the look with black hardware and accents.
THE INSPIRATION
I absolutely love this first kitchen. The light gray cabinets are beautiful with the the marble, and I love how they warmed it up with wood elements and aged brass. And that white fixture fits in beautifully. Perhaps marble counter tops are out of the budget, but marble subway tile is more affordable.

Here is another kitchen with gray countertops, but this one has black hardware. There is still plenty of wood and a natural grass-cloth shade to warm this space up.

The client offered this as their favorite inspiration photo. There are many custom and budget-blowing features like glazed inset cabinetry with pedestal feet, but the sconces, apron sink, and color scheme can easily be applied to create a similar look!

Finally, this last kitchen also has so many custom details, but it is a great example of what wood can do to warm up stainless appliances and add character. I like the idea of adding a rustic wood trim to a simple hood vent design. And maybe a custom built appliance garage with some vintage doors... hmmm... food for thought!

from Better Homes and Gardens
This is not a full-service design project, meaning I was involved with the design phase but not the building phase. Hopefully sometime in the future I can be back with some after photos! I hope you have enjoyed a glimpse into the design process!