Interior door upgrade

Another upgrade we did to our house this past year was painting all of our upstairs interior doors and adding new hardware! It might seem like a minor change, but it wasn't an insignificant amount of work. 

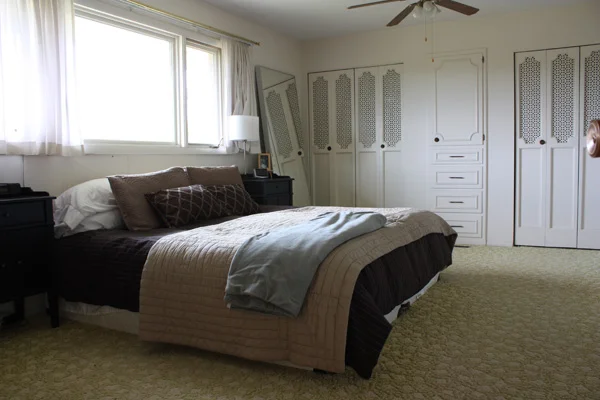
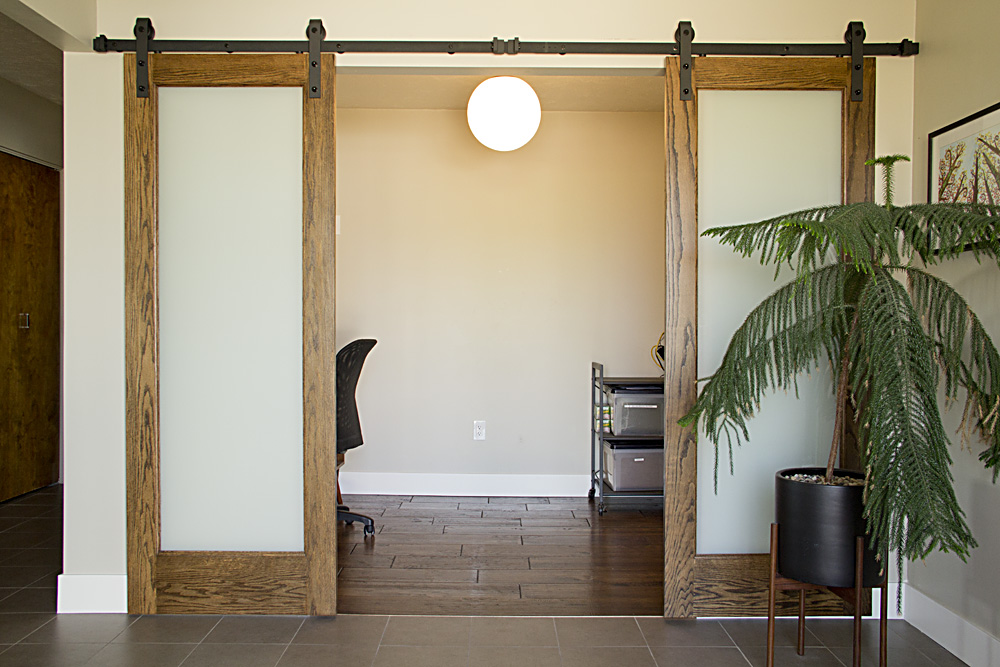
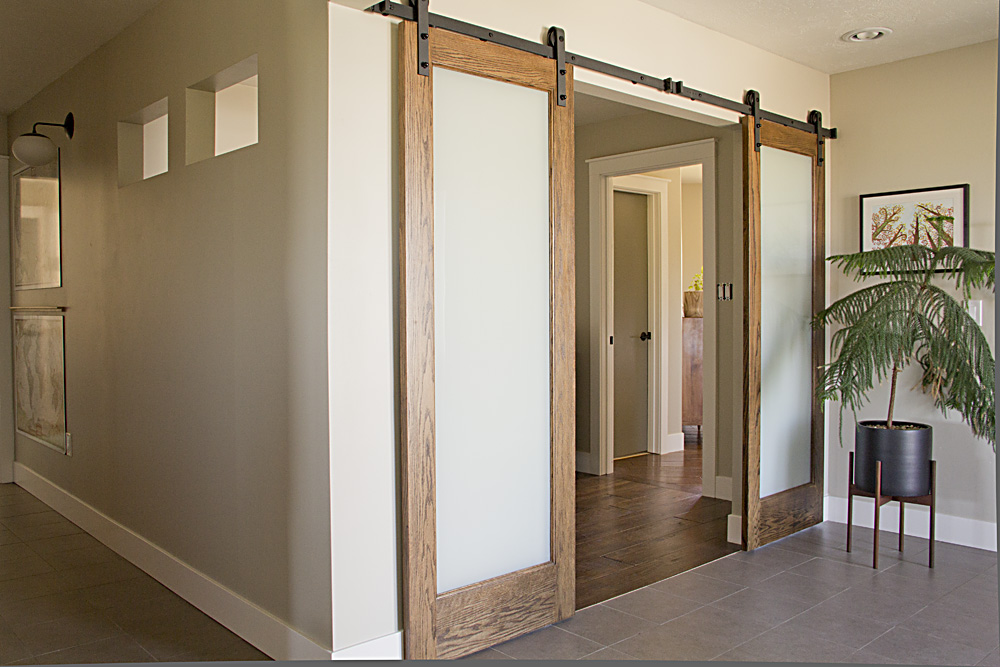
The funny things is, when people saw this photo of our entry (below), I got comments about how cool that door was. From afar, yeah, maybe. But these were not nice solid wood doors. They were laminated hollow core doors—some painted, some not, and not matching throughout the house. 

IMG_0585_1.jpg

Yes, for a not-small investment we could have bought new, nicer doors. We may still do that someday. I'm not an expert, but I think installing new door slabs is much harder than it sounds. It is difficult to make them fit correctly, and it is usually easier to buy them pre-hung, frame and all. Some of these doors have been adjusted/trimmed down as the house has settled, etc. I replaced all the hinges on the doors, and even though I was careful to match the hinge style, it took some work to get all the doors to fit properly again. 

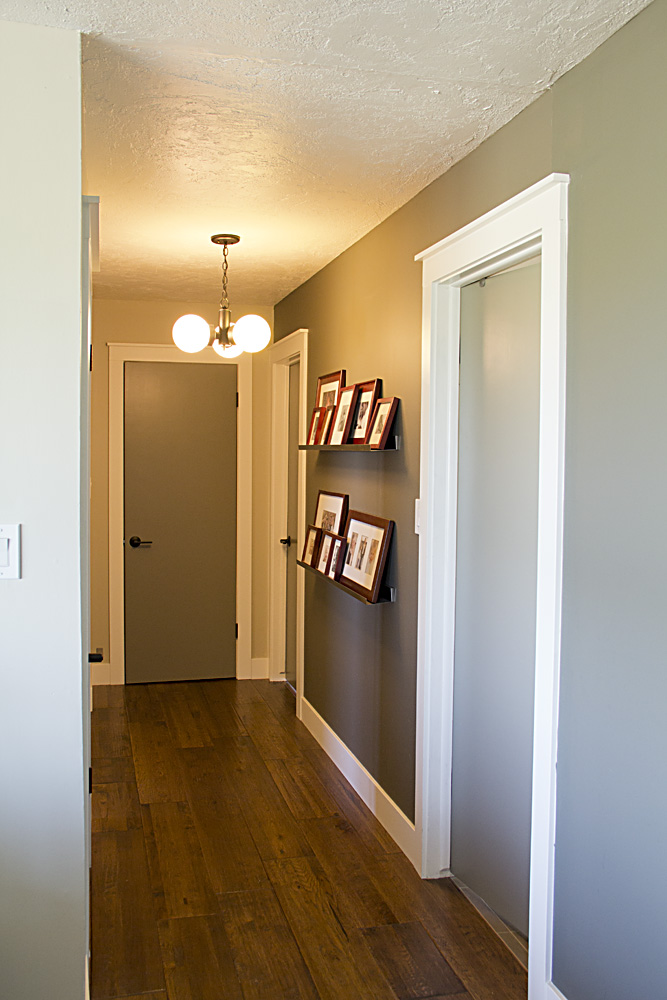
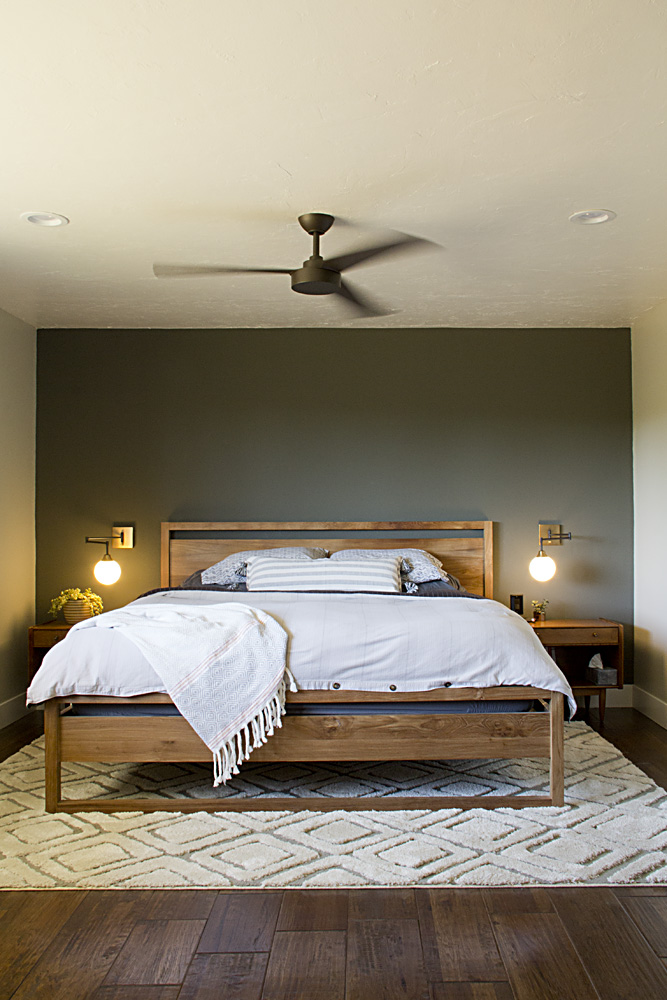
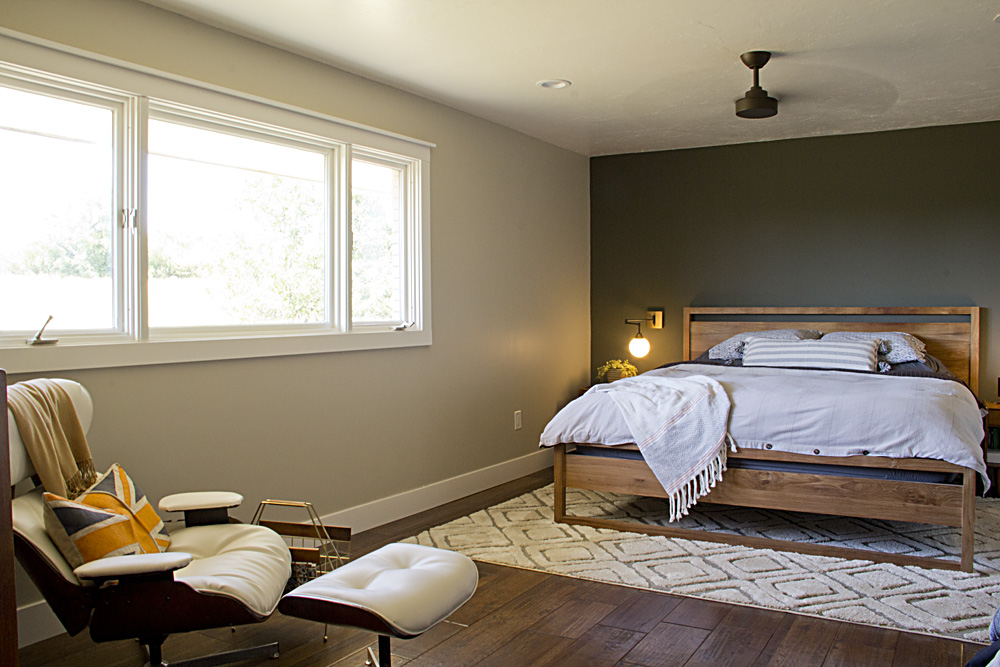
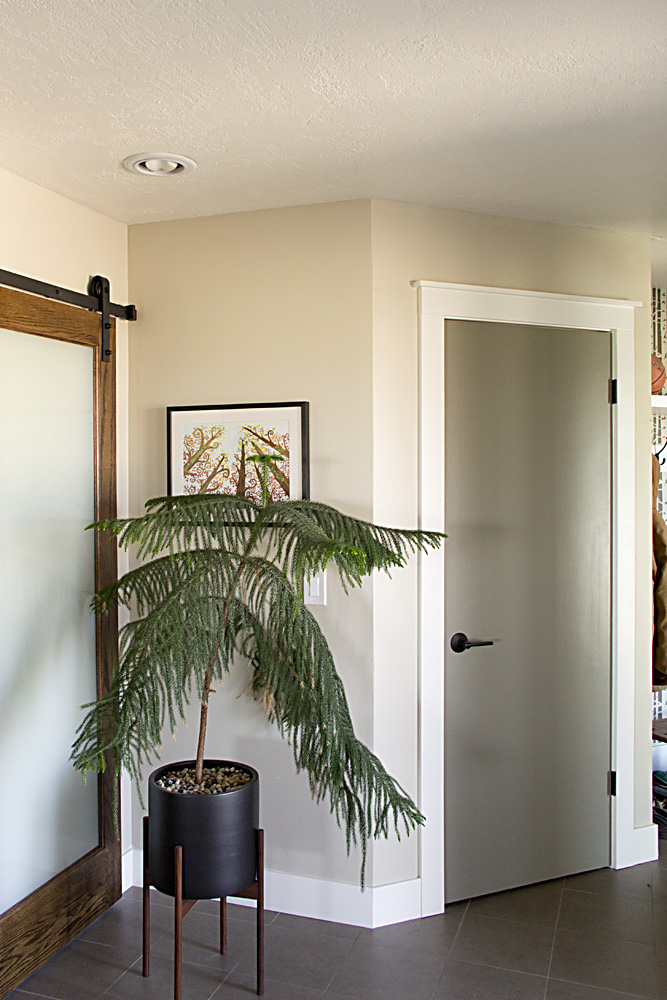
Now, at least, all the doors match inside and out. I painted them a color a step lighter than my living room accent wall: Behr Squirrel—its kind of a greenish gray color. 

I also replaced all the knobs with these modern Latitude levers from Schlage.

Sometimes its the little things that make a big difference!

Master Bedroom progress

I am excited to show you our new bedroom today! It isn't finished—I don't seem to have a stash of cash to just go out and purchase all the accessories I want all at once, but it is in progress and I am too excited to wait until it is "finished" to show you!

I like things to flow from room to room and feel cohesive. Therefore, I used the same wall color I've used throughout our home, and repeated the accent wall color from our living room. When we remodeled our living room we purchased enough of this hickory wide plank solid wood flooring to eventually do this room also. It sat on pallets in our garage for several years so it felt great to finally get it installed! It was not the most forgiving flooring to lay and it took us several days to get the job done. So happy with the end result!

We formerly had two ceiling fan/light fixtures in this space. We struggled to keep this room cool in the summer and warm in the winter, and knew we wanted to keep a ceiling fan in this room. We opted instead for a simple design with no light, and then added 4 recessed LED lights to the room. We love the new fan. It is so much more efficient and quiet than the old ones, not to mention much more sleek and modern. 

Sources: Paint, accent wall, Behr Dusty Mountain; main walls, Behr Sandstone Cliff; ceiling fan from Wayfair; sconces from Wayfair (no longer available); duvet cover, Thomas O'Brien from Target (discontinued); lumbar pillow, handmade using a Target throw; throw blanket from TJ Maxx; rug from Home Depot; bed from Crate and Barrel; nightstands, vintage.

As a little reminder, this is what the room looked like before. The only place to put the bed was under the windows:

We tore out the closets and moved the bed to that wall. The closet was relocated next to the bathroom by stealing a little space from the office.

We still need to figure out what to use for window treatments. I love the simplicity of blinds, but this is quite a long window. In this case I am leaning towards floor-to-ceiling curtains to provide some softness and an insulating effect in the winter. Something subtle but textural. What would you do?

On the opposite side of the room, this little corner is where I would eventually love to install a gas fireplace. Until then, it houses a dresser (vintage—I bartered with a client to acquire these), and the Eames-style lounger I refurbished.

I would actually like to organize our closet well enough to house all of our clothes, even our underwear and things that are currently held in the dressers in our bedroom. I love being able to go from our bathroom into the closet to get dressed and having everything there in one place. 

Other sources: Paint color, Behr Sandstone Cliff (walls), Behr Powdered Snow (trim and ceiling), Behr Squirrel (doors); wood planter from Target; Union Jack pillow, handmade; magazine rack, vintage from a storage unit sale;  art by Scott Davis, a talented former co-worker—it is hard to tell from this but it features a deer wading through a misty Great Salt Lake.  Here is a closer look:

This was the mood board I put together before the remodel:

We had the bed and nightstands already. A friend sent me a link to the sconces shown above, and I ordered them right away (from Wayfair) only to get an e-mail about 3 weeks later that my order was cancelled. Boo. I had to go to plan B, and found the sconces we ended up purchasing (also from Wayfair, and now also no longer available.) Apparently that is a thing. If you see something you want, snatch it up immediately. 

The pillow in the mood board is from Citizenry (similar). Their stuff is beautiful. And also—expensive. I didn't buy it, but I do rather love the pop of color. 

The leather bench is still very much on my wish list, from CB2.

Finally, artwork. I love these joshua tree prints from Amber Interiors. I wanted to do something original and try to make my own local desert-inspired photos. When the yucca plants were in bloom along the Teton River I shot these images:

I just can't decide what combination to use. A pair of two?

Or one big photo?  Which do you like?

As I mentioned before, we finished the bedroom and office side of this space, and left the old bathroom in tact (i.e. functional) until we can tackle that project. It left some awkward spaces in the meantime. We expanded the bathroom walls by a foot or so, which left a gap between the new wall and old wall. (This is where we hide our stowaways ;) Our closet is temporarily set up where it will eventually go, however the old bathroom walls make it pretty narrow for now. 

Thanks for your input on the bathroom layout! It was helpful to hear your feedback. I am definitely leaning in this direction:

Thanks for following along, and let me know what you think! 

Office progress

Welcome to the new and improved view inside our front door!  (I know that office wall is really bare right now. That will change!)

As a little reminder, this is what the office area looked like before. 

And now, it looks like this! Not quite finished.

We opted to put frosted glass sliding doors in so we could fully close the office off and still let daylight in. The barn door hardware and doors are from Home Depot, and considerably less expensive than most others on the market, but I'm happy to say we were pleased with the quality. 

The little windows on the side were added for architectural interest and to allow natural light to still flow into the hallway. We were worried that closing off this wall would make the hall seem really long and dark. I think it was a great call. We plan to add glass windows with modern black steel frames to the openings. 

From the new (main) entrance to our bedroom, the office looks like this. We have temporarily put our old office furniture back in until we can afford to/have time to install cabinetry. (When we do, our sweet Paul McCobb desk will be for sale if anyone is interested!)

As a reminder, the cabinets will be something like this:

We changed the windows a bit since I made this rendering, but you get the idea. The floor space in the office is quite a bit smaller than it used to be. I did have to fight Tom for the real estate a bit. But I truly believe that good storage and organization is more important than floor space. 

To the right of the office is the old entrance to our bedroom. We originally thought we would put a powder room here, but opted instead to make a small closet. We made it the perfect size to hold our recycle bins and some pantry overflow, and it meets our needs perfectly. We still need to tile the floor and paint the shelves in this closet. Baby steps. 

Still to come—our master bedroom! Thanks for following along!