I was approached by Food Network Magazine a few months ago with an interesting challenge—create an Easter egg inspired by my home state. No restrictions on the medium used. Ack! What to do? The first picture that popped in my head was an elaborately painted landscape with a big bull elk at the center. (Well they contacted the wrong person for that). Instead I proposed something that was a little more me—a modern wheat design that is inspired by the pattern I created for my blog background. They loved the idea and told me to go for it.
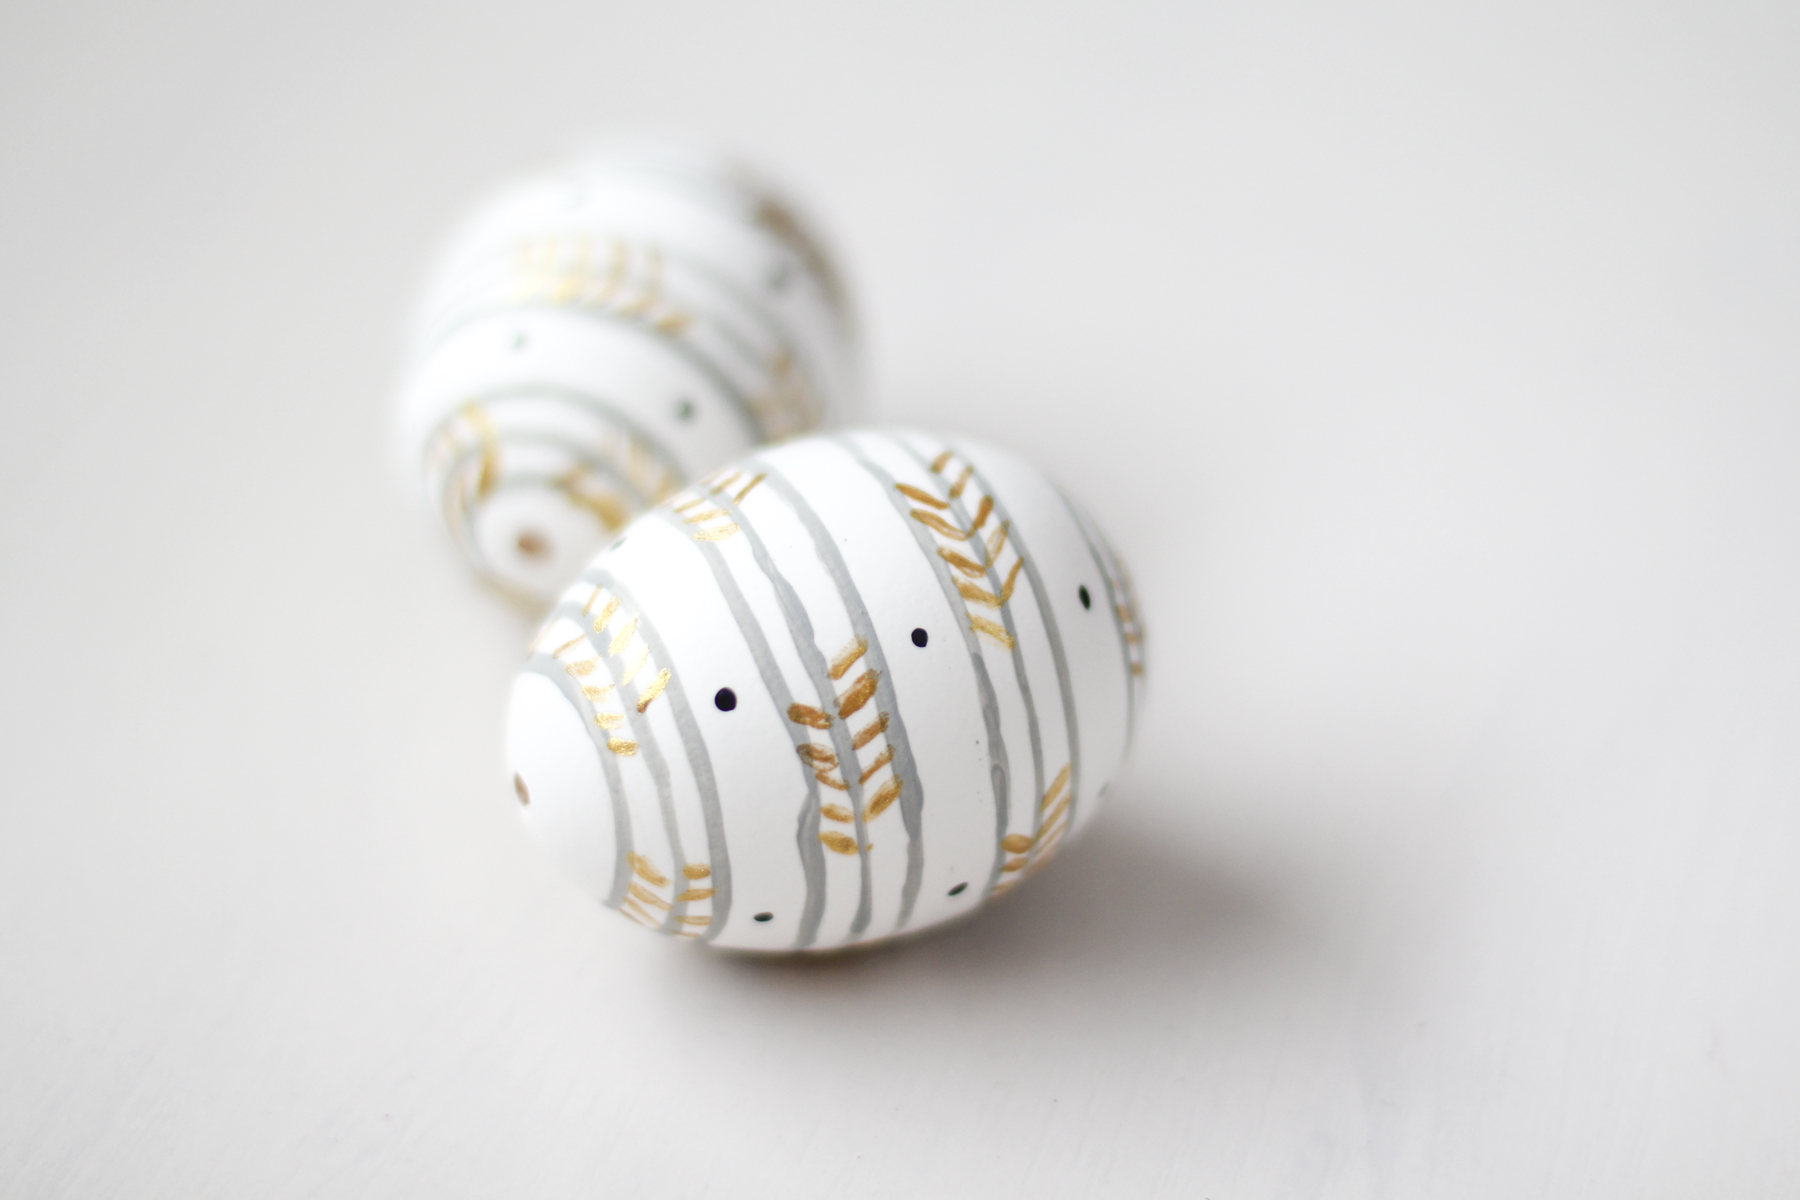
This project caused me no little stress (because Food Network Magazine—doh!) I probably went through a dozen eggs trying to nail the perfect design before I went back to my original idea and just embraced the imperfect, hand-painted quality.
Trying to paint straight lines on a round egg is... well, crazy. But let me show you a little trick I used.
I drilled perfectly round holes in each end of the egg first using a Dremel tool. I used these holes to blow out the egg. Then, I fitted a skewer through each hole and attached mini rubber bands around each end to secure it in place. Then I rested the skewer over a bowl so I could rotate it evenly as I held my brush in place. This also allowed me to paint the egg all the way around and let it dry completely without smudging any of the paint.

Now I am thinking the girls and I might be skip the traditional dying and instead try hand-painting our eggs this year. So many possibilities!