I had grandiose plans for this bathroom at one point, including adding a walk-in shower and a clawfoot tub. I even purchased an old tub to refurbish. But 4 years into our renovations we are feeling a bit burnt out—or more practical. Either way, I decided to edit my plans to just a tub/shower combo and keeping everything in the same locations. I was going for FINISHED. We had a list of other projects to tackle once this was complete, so FINISHED seemed like a worthy goal.
(For previous posts about this project and to see my inspiration pics, go here, here, and here.)
I will list the sources at the bottom of this post.
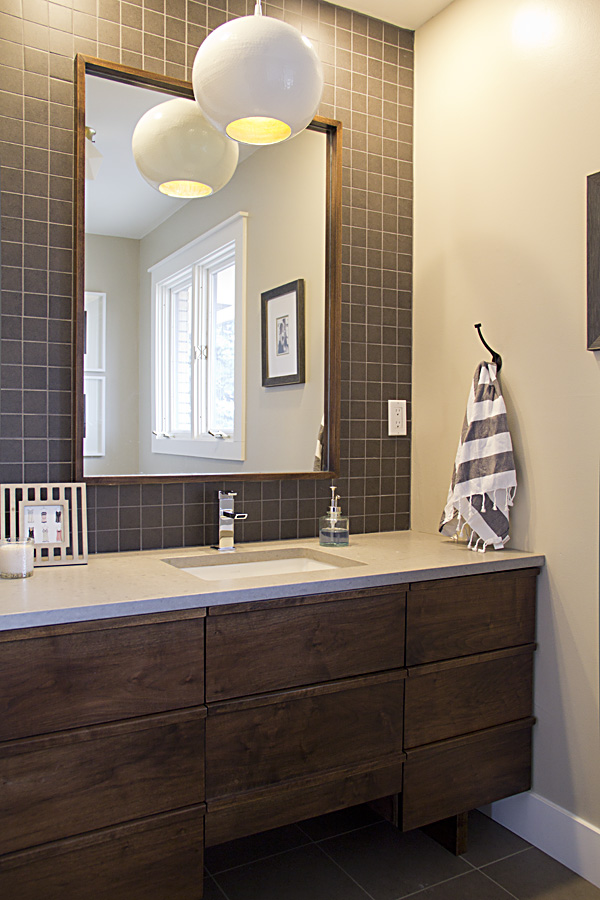
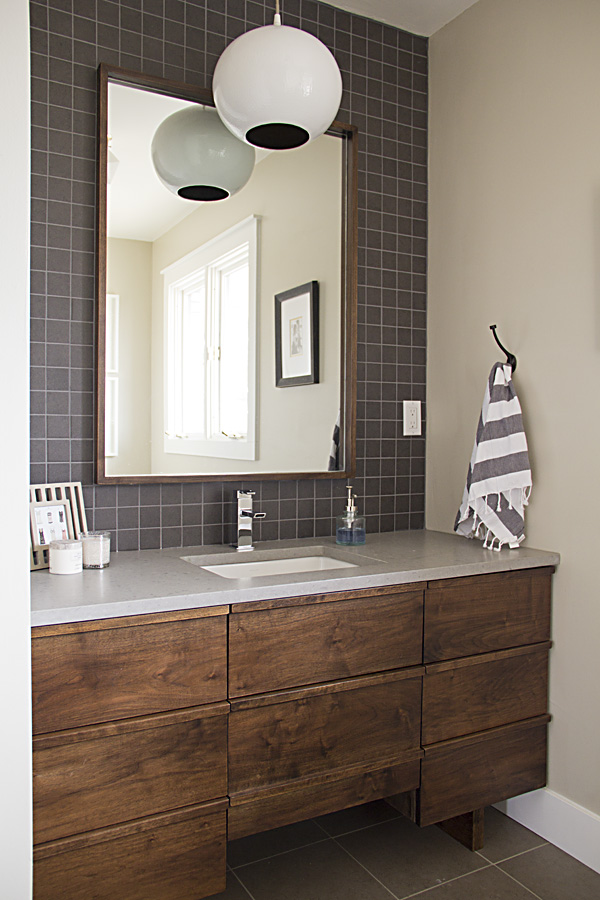
I searched high and low but could not find a vanity that lived up to my inspiration and expectations. It took a bit of arm twisting, but I was able to talk my Dad into building it. (I found a builder on Etsy as a backup option, but doing it ourselves definitely saved us money). I chose this insanely gorgeous walnut for the project, and we went for a mid century design that resembled a piece of freestanding furniture. (I would have loved to use an actual vintage dresser, but it would have been a challenge to find a piece that met our size specifications. My search over the past 2 years yielded no options.) I gave my dad a rough design, and he helped me refine it. My dad did all the construction and I did the staining and finishing. It turned out just like I'd hoped!
We built the mirror to match, and saved even more money.
The light over the vanity was one I had seen ages ago and loved. They were sold out online, but I ended up calling multiple stores and tracked down one of the last ones in stock. When it arrived I was surpised by how big it was... but the store had done me a special favor tracking it down and it didn't seem like a good idea to send it back! The inside is gold, so I carried those gold/brass touches throughout.
We kept the existing ceiling fixtures, although we shifted one so they would be lined up. The spacing was odd before. I adore these lights, and love that we were able to keep something from the old bathroom.
We had several boxes of tile left over from our kitchen/dining/entry/laundry spaces. We calculated it to be exactly what we needed for the bathroom, so we ordered one extra box to be on the safe side. In the end we had one box left over. Go figure. :)
Here are the juicy side-by-side before and afters:

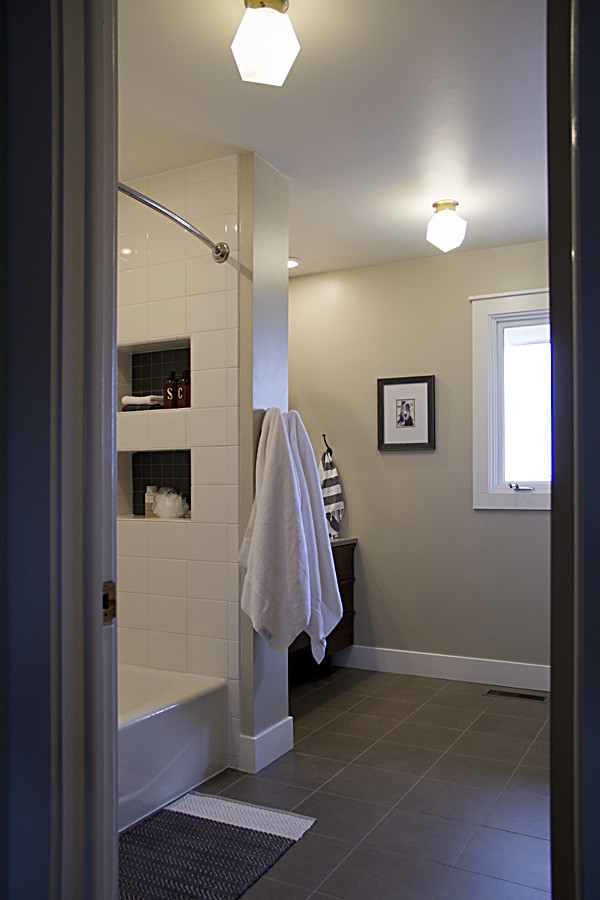
The observant will notice a few structural differences: We removed the soffits above the tub and sink. We expanded the width of the wall between to accommodate the niches in the shower wall. The wall heat register is gone, replaced by a floor vent (we put in forced air heat throughout the house).

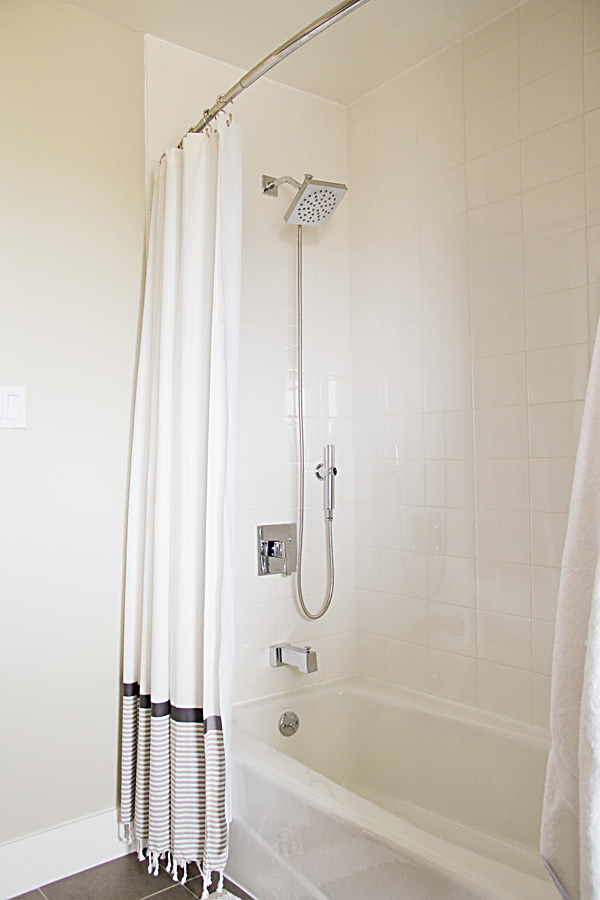
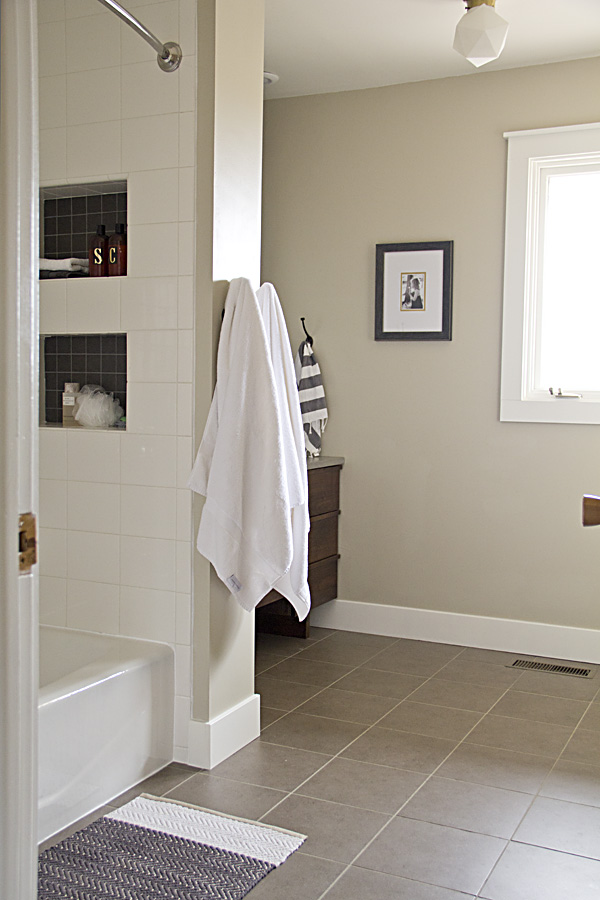
Not exactly the same view here—sorry. The new shower is very light and bright. We chose simple 6x8 white tiles from Home Depot. Cheap and classic. We chose to stack them rather than stagger them subway style for a more contemporary look.

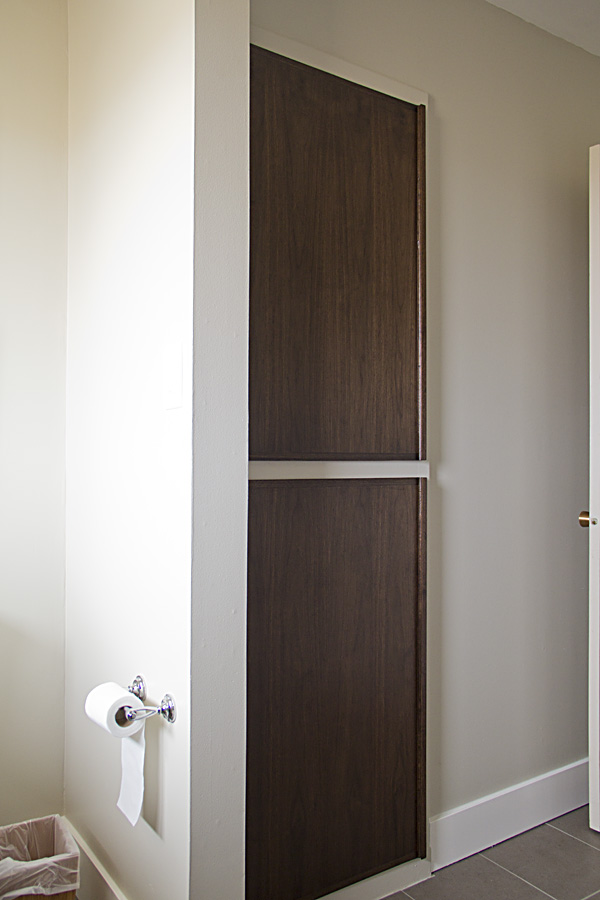
Sorry- this view is shot at a different angle also, but I wanted to show you how we replaced the doors on the built-in shelves. Dad built these out of the walnut as well.
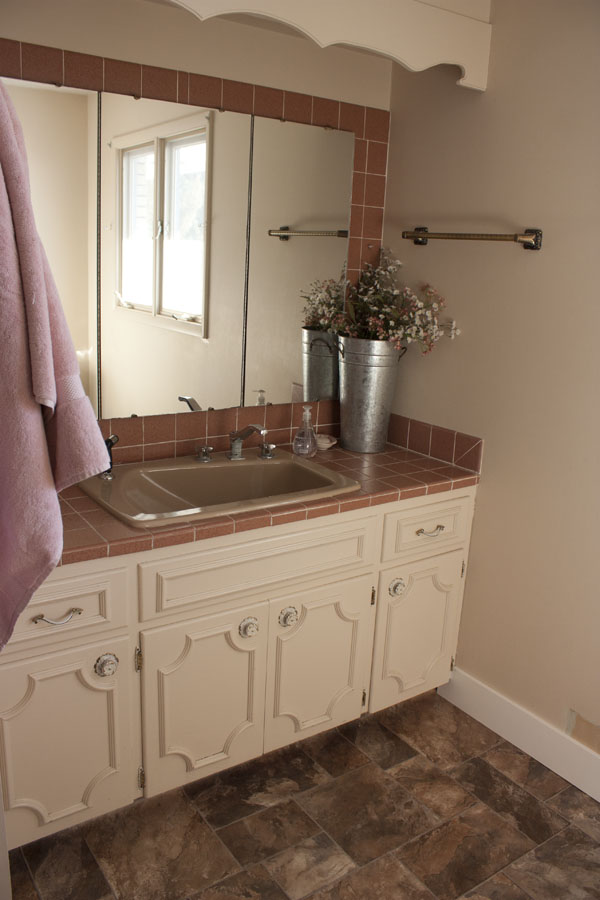
This before photo of the vanity is after we affectionately bid adieu to the red shag carpet and installed a cheap piece of sheet vinyl to tide us by. And you may wonder—what could possibly be wrong with this delicious brown 70s tile and brown shampoo sink? If you are crying a tear over their demise, let me assure you they were past their prime. The tile was staring to fall off the front of the vanity, the sink and shower faucets leaked (horribly). Okay, we could have kept the shampoo sink, but I think it was time for a new look.
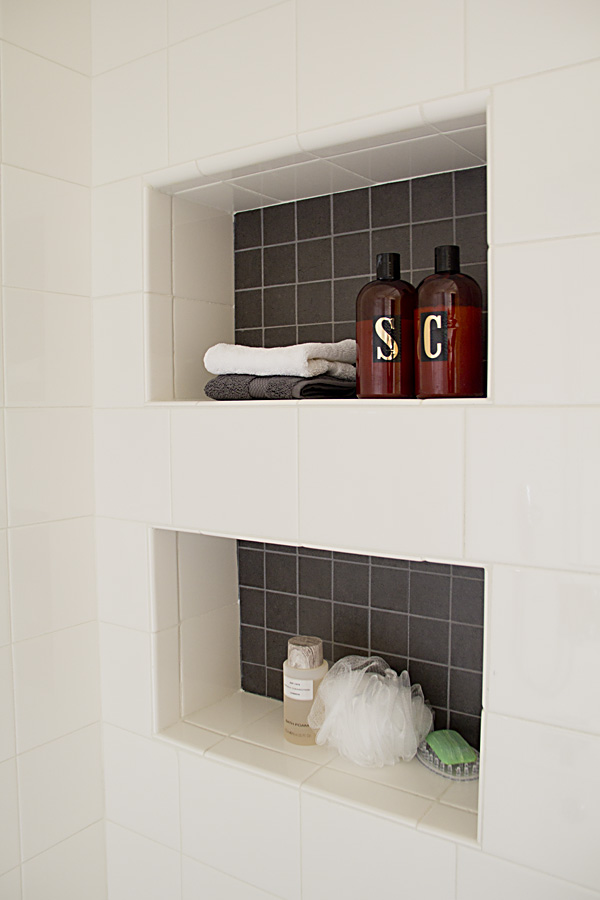
These shower niches were my brain child. I wanted something to look at other than a blank shower wall since you see this spot first when you walk in the room. Also, I like to keep things off the tub ledge. I think it was worth it, even though it added some challenge to the tile-laying process.
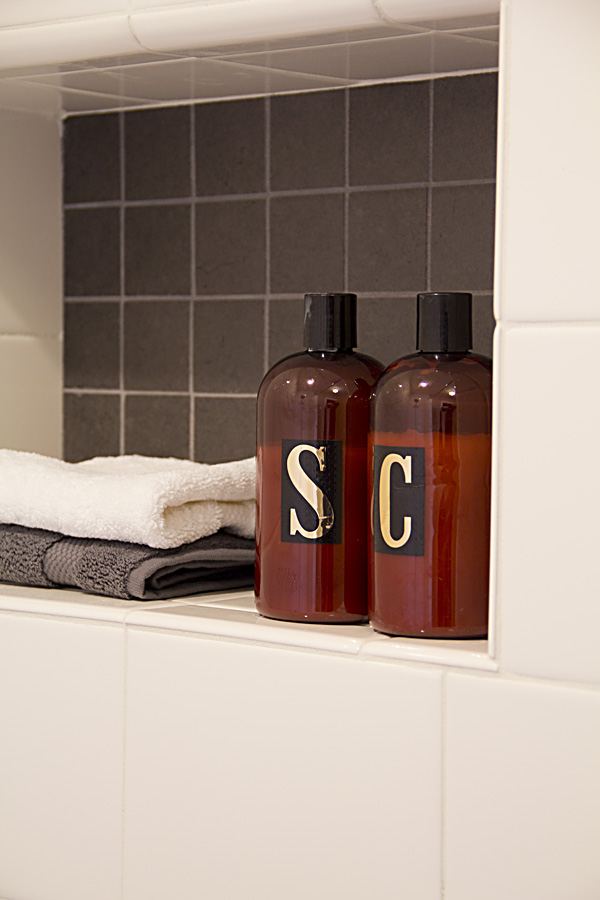
I had a small obsession with finding pretty shampoo/conditioner, but I couldn't seem to find any that fit the design scheme like I wanted. I was able to purchase the empty amber plastic bottles from Specialty bottles, and then I searched for some white vinyl lettering to label them with. I had trouble find the perfect letters, so when I saw these gold letters I thought- perfect! More gold! Tom thinks they look mail boxes now. Whatever.
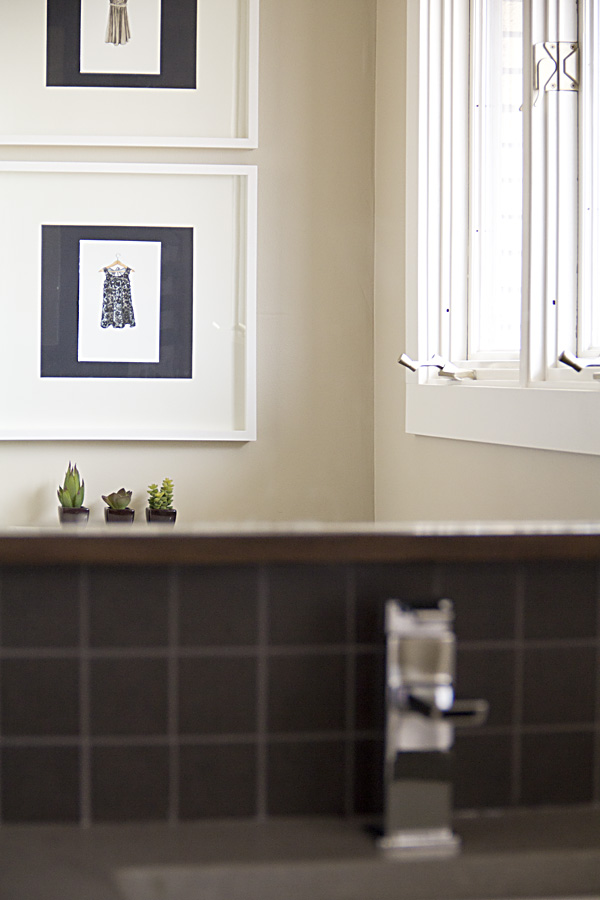
I had a couple of unused white frames on hand, so I scoured Etsy for some art to put in them. I ended up falling for these little watercolor dresses from Mary Catherine Starr, who did a "dress-a-day for 100 days" project. These are two of her originals. I thought it would bring a bit of femininity to the space since it is used primarily by our girls.
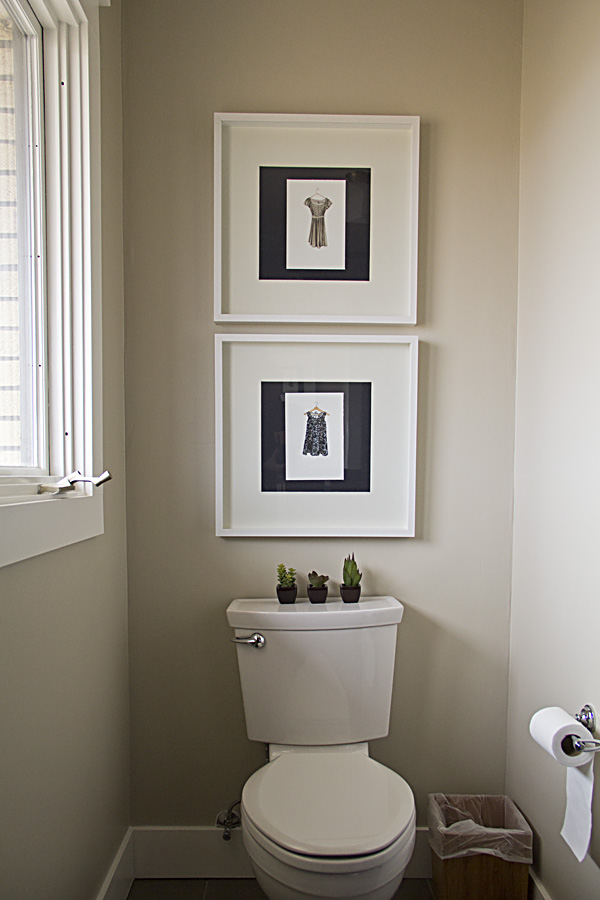
We actually ended up replacing the toilet also. The old one was still pretty new—an expensive wall mount toilet with a power flush feature that scared the kids. I think it scared a few grown-ups too with it's sonic flush. Luckily we were able to access the plumbing through a closet in the basement and move the sewer pipe in order to put in a standard toilet.
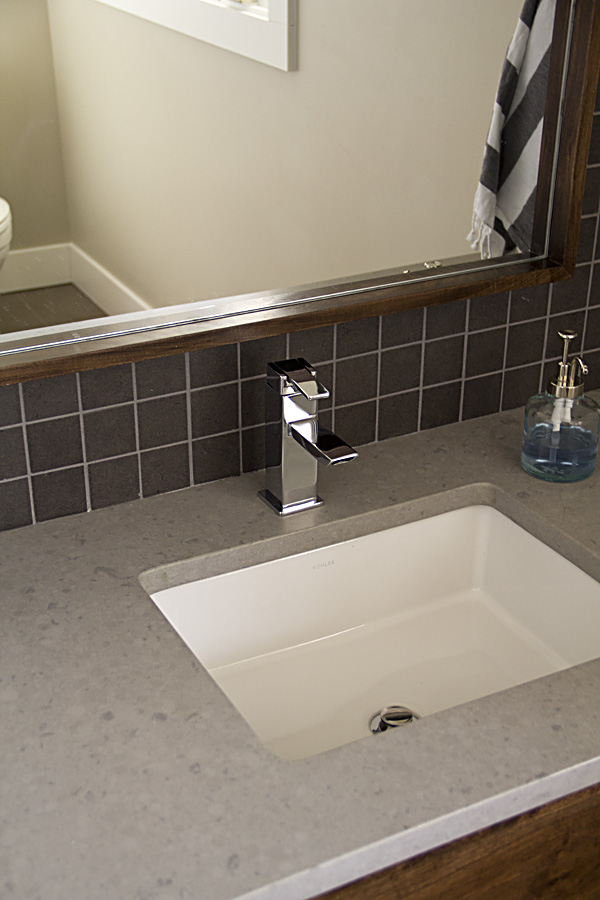
The faucets are fun and modern, but I'm finding the chrome shows. every. spot. The countertop is cut from a Quartz remnant I found in a local stone yard.
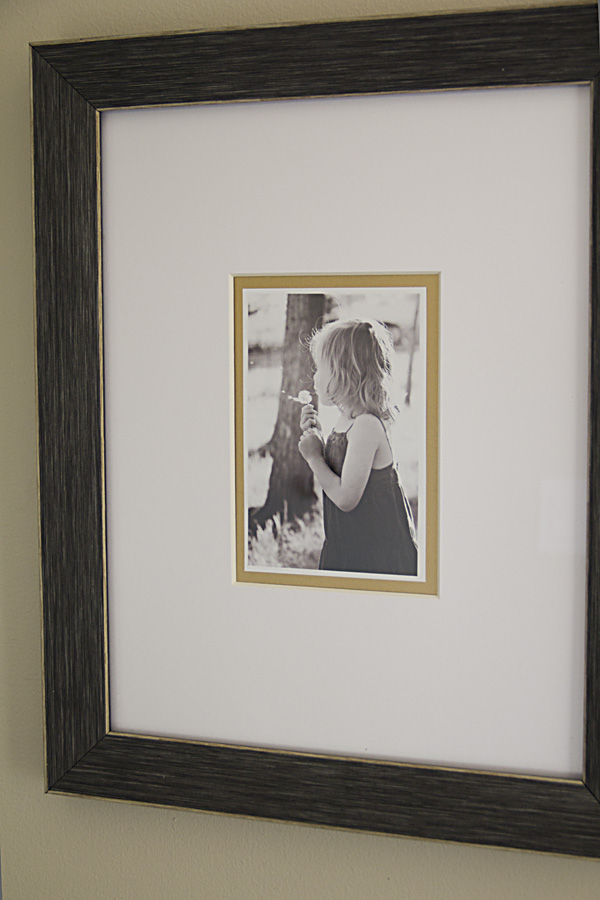
Finally, I added one last piece of art. I found this perfect frame on clearance at Target, so I just added a gold mat I found in my stash and a sweet photo of Sarah shot by talented Darla of rozephotography.com.
SOURCES:
- Floor tile: Progetto Casa, Florida tile, Tabacco
- Vanity backsplash tile: Progetto Casa, Florida Tile, Midnight mosaics
- Shower wall tile: U.S. Ceramic 6x8 Snow White, Home Depot
- Vanity: Custom made
- Mirror: Custom made
- Sink and shower faucets: Moen's 90 degree collection, and Danze hand shower, Faucet Direct
- Tub: Kohler, Home Depot
- Sink: Kohler, Faucet Direct
- Toilet: (do you really care?) American Standard Champion, Home Depot
- Lighting (overhead): vintage
- Lighting (vanity): Crate and Barrel, no longer available (We also used LED recessed lights from Home Depot over the shower and vanity).
- Shower curtain: West Elm
- Bath mat: West Elm
- Hand towel: West Elm
- Bath towels: Restoration Hardware
- Frames: Ikea, Target, and Target
- Art: marycatherinestarr on Etsy
- Photo: our Sarah shot by rozephotography.com
- Soap dispenser: Target