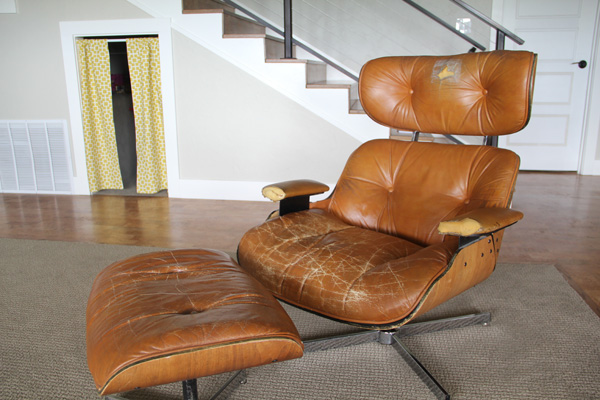
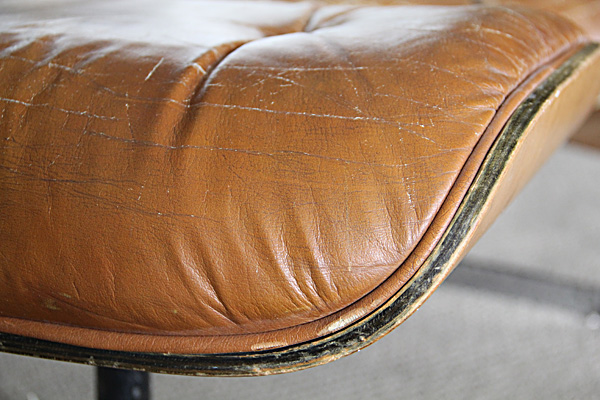
I am super excited to share today's post with you. I wrote about this chair only about... 6 months ago. In September I had a surge of productivity when I took the chair apart and completed the wood re-finishing. Then the pieces banged around in my storage room while I waited for my mom to have time to help me with the upholstery. On a cold and snowy Saturday a couple of weeks ago I was antsy to tackle a project. I left the kids with Tom for the day and plowed through the snow to my mom's house where I could tackle this project once and for all—without distraction, under the watchful eye of my mom and using her more advanced sewing machine. I'd like to say that was the end of the story, but it took a few more days before I could finally call it finished. I'm nothing if not persistent, though, so I can finally show you the finished product!


The back:
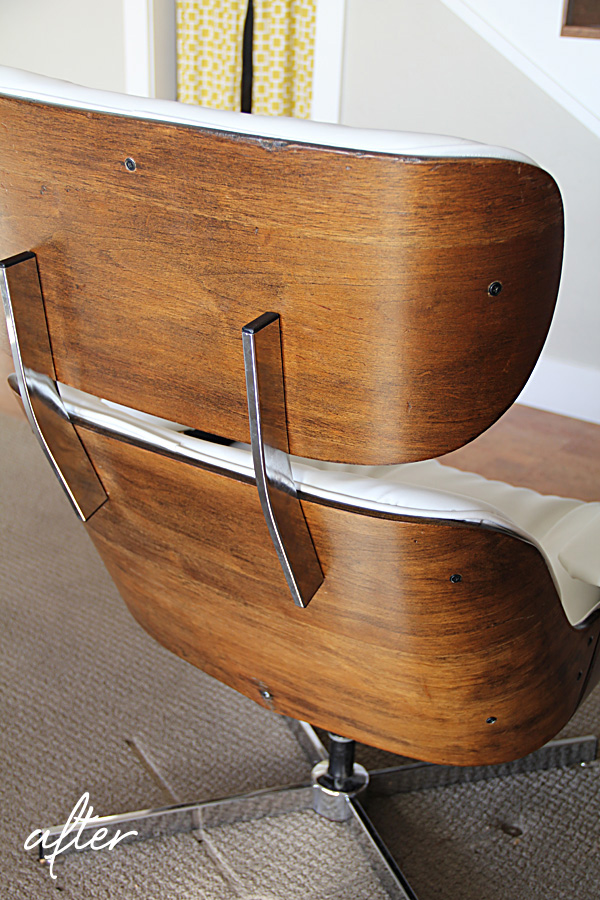
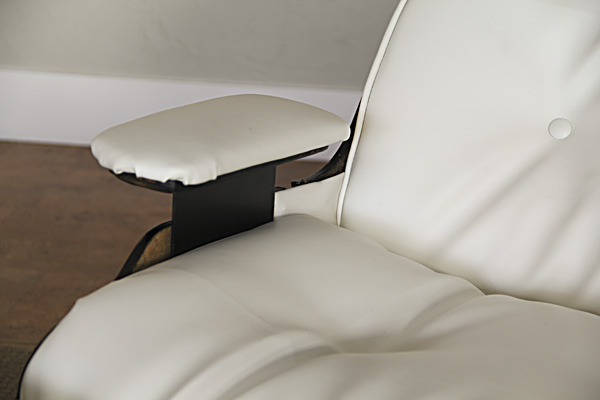
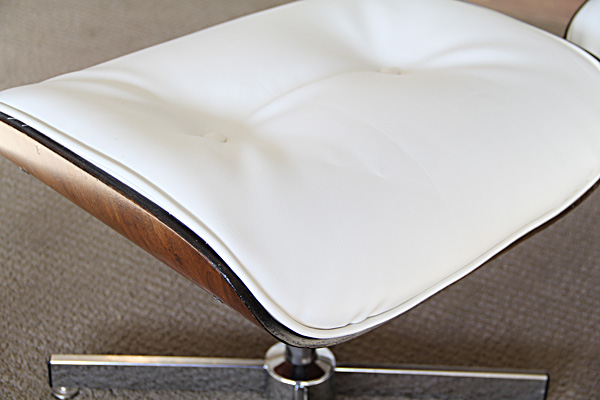
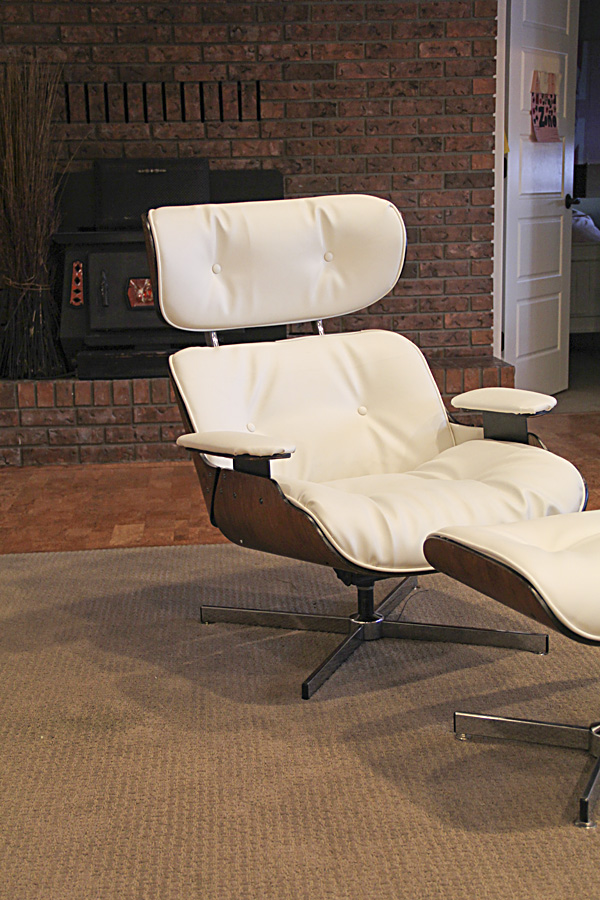
There she is! And I'm pretty proud of it despite its imperfections.
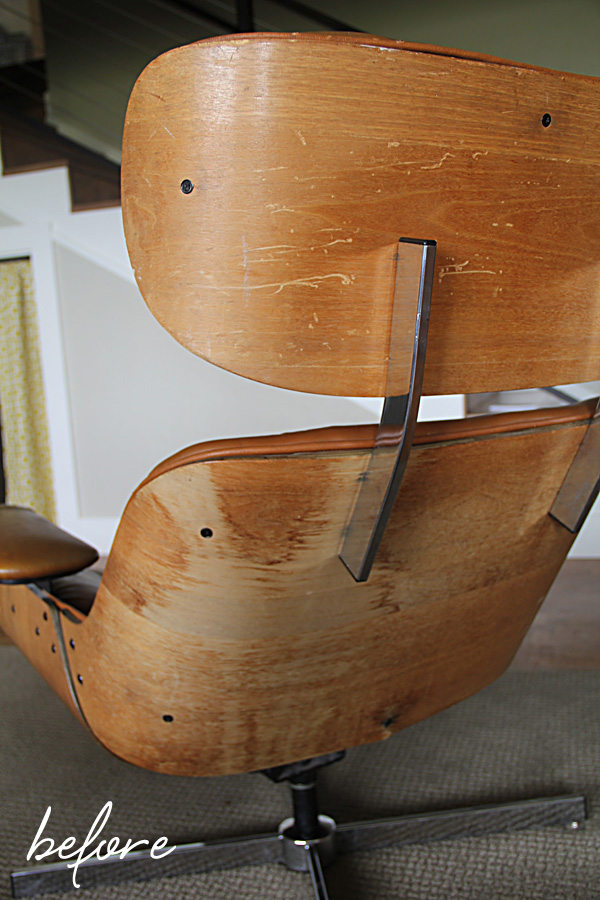
I must say this was no small challenge for me. It took time to disassemble, remove hundreds of staples, and carefully label and bag each piece of hardware. I took photos along the way to help me with reassembly—something I was glad for when I finally got around to it 6 months later. It was another time investment to refinish (sanding very carefully so as not to damage the thin veneer, then applying the stain and 3 coats of Poly acrylic finish, sanding between every coat). I spent another long day sewing hoping so much to finish it in one day. That night I gave up in frustration, feeling like I would never get it right. (I am, after all, a complete novice in re-upholstery). I spent a little time researching other redos online and discovered I might have been the only person crazy enough to attempt sewing the welting directly to the cushions before attaching them to the wood. Most people stapled their cushion fabric, then glued or stapled the welting separately. Easier, for sure, but my way was the way it was constructed originally. The problem was that the old leather was stretched out and made an imperfect pattern. Easing and gathering the stiff vinyl around the edges was really challenging. The result is very imperfect and there are plenty of puckers, but I think in the long run the construction will be stronger.
A few days later with fresh and rested eyes I spent one more long afternoon stapling hundreds more staples into the flimsy wood frames (rather exhausting) and then screwing each piece back together. Even that part of the job took longer than expected, but it was so very exciting to watch it come back together!
Had this been an original Eames lounge and not a knock-off, I would have been inclined to use real leather. As it was, the only $$ I had into this project were for a few small supplies: buttons, welting, needles, and upholstery thread. The chair was free (my Grandpa's chair, cast off to the back recesses of the storage room in our house), and the vinyl was something my mom and dad had on hand and donated for the cause.

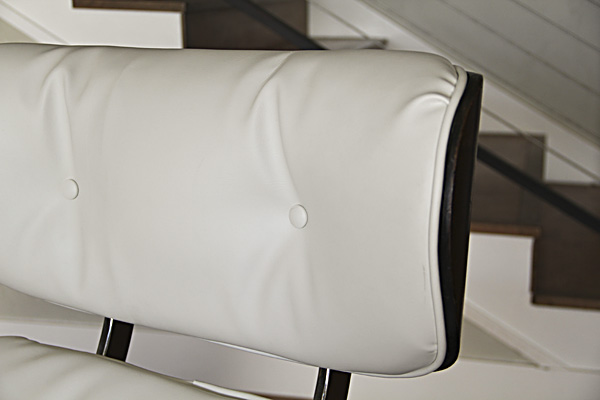
I intended to make my own buttons, but it didn't take long to figure out the stiff vinyl and cheap button frames from the fabric store would have made a lousy combination. At the last minute we took the vinyl to an upholstery shop and had buttons made for us. It cost all of $5. Obviously well worth it!
After seeing how inexpensive and easy the buttons were, Tom thought I was crazy for not exploring the option of professional upholstery to begin with. Maybe it would have been affordable—inside 2 or 3 hundred bucks perhaps. And the result certainly would have been better. However, despite the number of hours it took me (a lot), I still am glad I attempted it myself. It might not be logical, but it gives me a feeling of accomplishment and leaves me with something to be proud of.
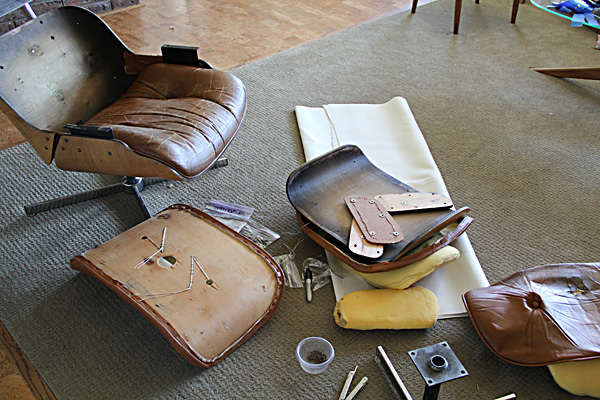
You might enjoy seeing a few photos of the process, although, I didn't take any of the sewing and reassembly. My hands were too busy to pick up the camera!
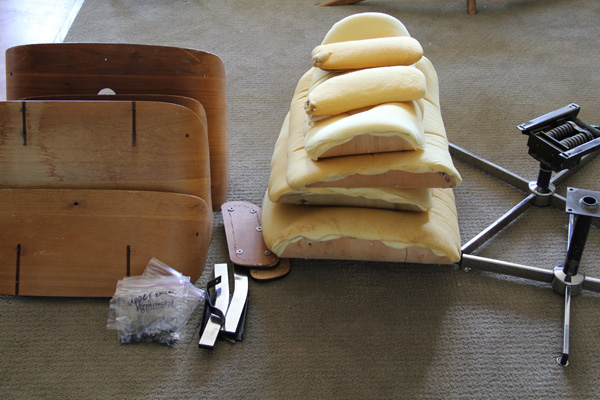
Taking it apart (Each piece was built with an inner and outer bent plywood shell):
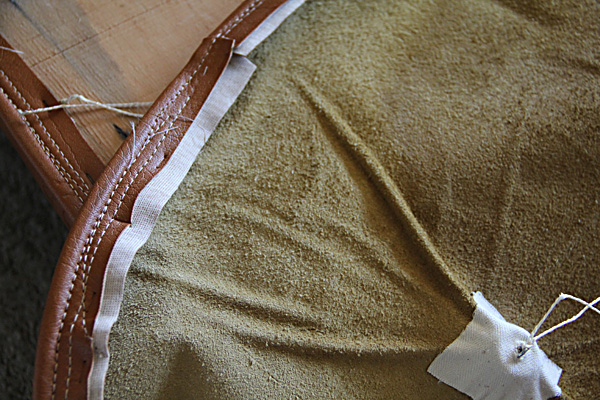
The back of the ottoman with the outer shell removed, showing how the cushions were stapled onto the fabric:
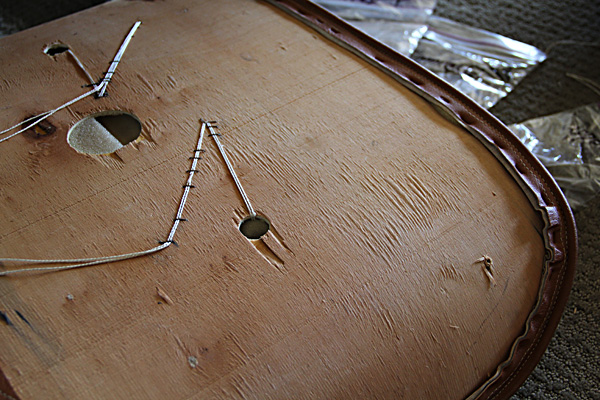
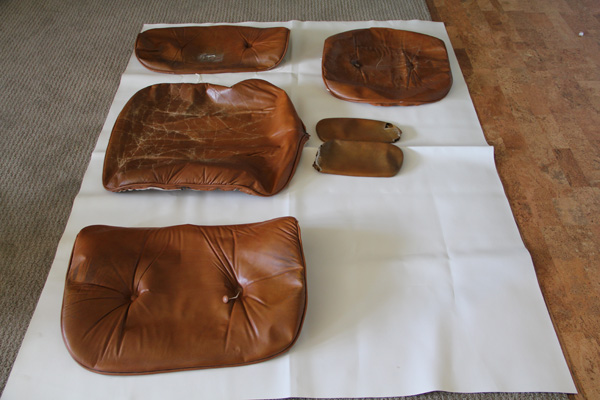
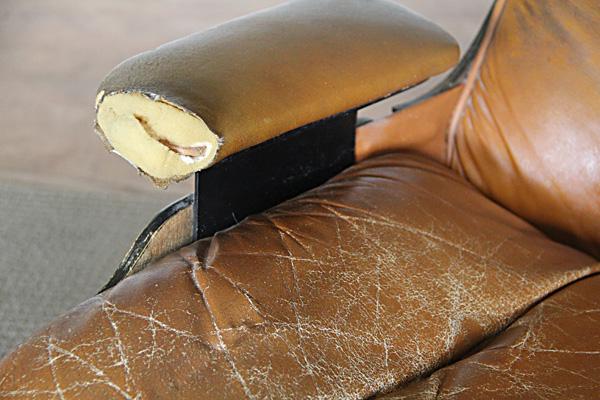
The leather removed:
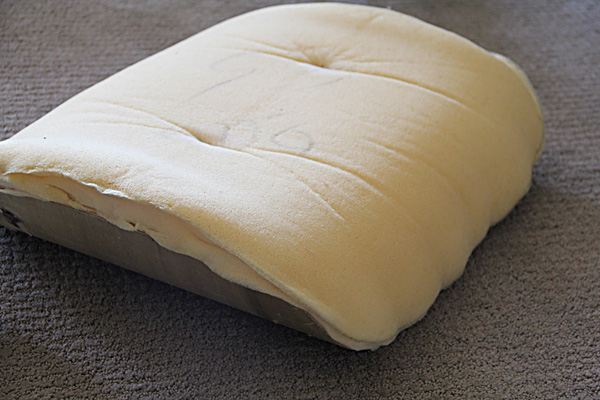
And the cushion foam and inner plywood shell. (I reused all the old foam):
All the pieces lined up:

Checking to see if I had enough vinyl. This was before I removed all the welting. I then laid each piece flat, taped it to the vinyl, and cut around them. Each piece of welting had to be cut to the exact same length, so after they were removed I stretched them out and re-cut new strips.

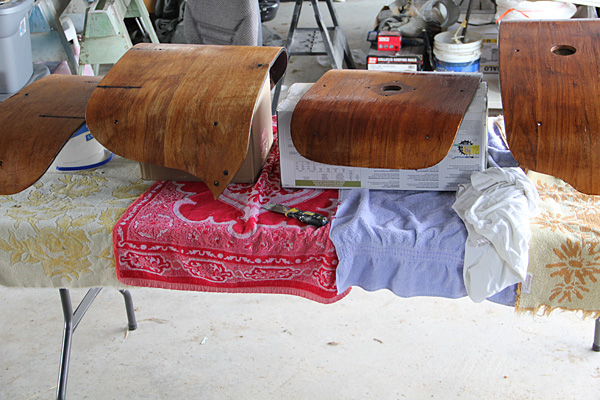
The pieces laid out in the garage for re-finishing:
Now that it is done, I've heard a few say "This was always my favorite chair" or "I forgot how comfortable this chair was!" (Rumor has it the knock-offs are actually more comfortable than the real ones. This one reclines—the originals only swivel.) As such, I sort of want to move it upstairs to a place we can enjoy it often. For now, it resides downstairs.
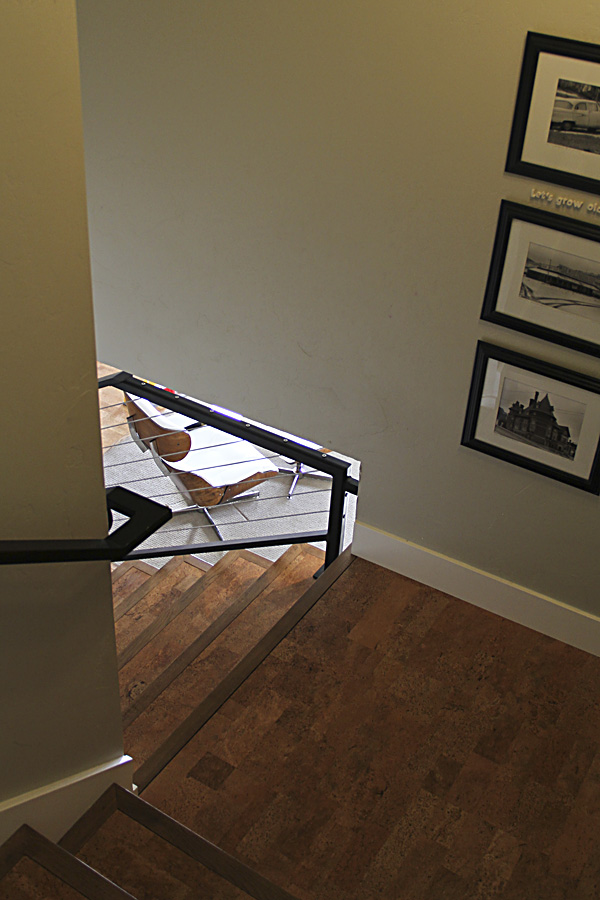
The bright white vinyl isn't totally ideal with my living room furniture, however. And it looks pretty hot downstairs with my hounds tooth sofa:
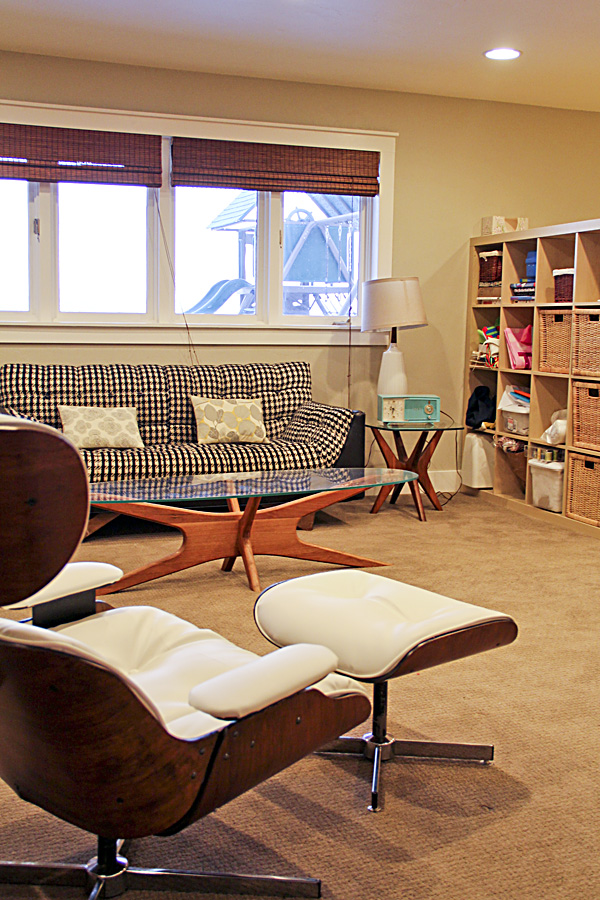
So for now we are trekking downstairs for a change of scenery during our evening lounging.