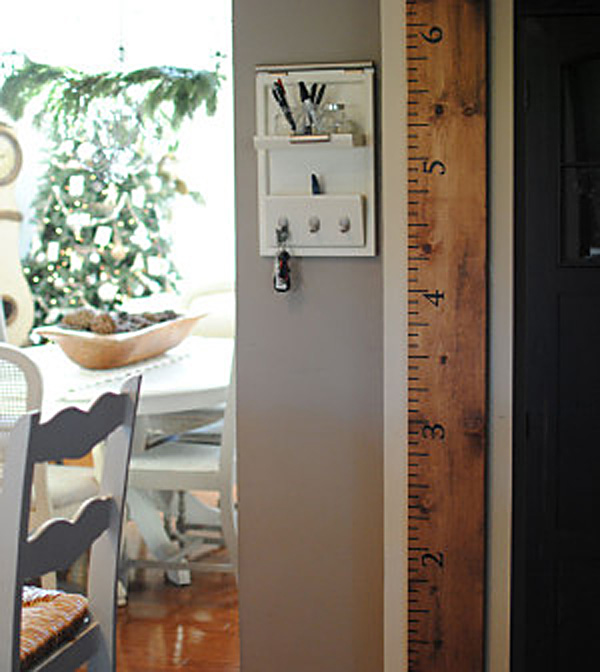
I've seen various versions of Growth Chart rulers floating around Pinterest, including this cute one in the photo above from here. Most of them are done on a piece of wood that can be taken down and moved with you. Smart.
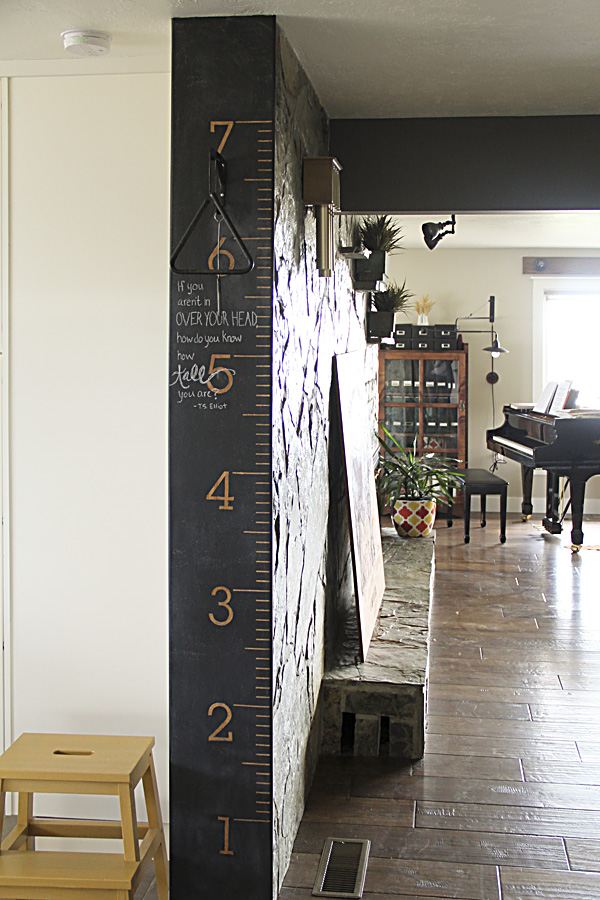
But I had a built-in piece of wood that seemed perfect for the job, and after all, we don't plan to move. It needed a make-over anyway. The wood end cap on our fireplace was stained a lighter color and didn't match our new cabinet color.
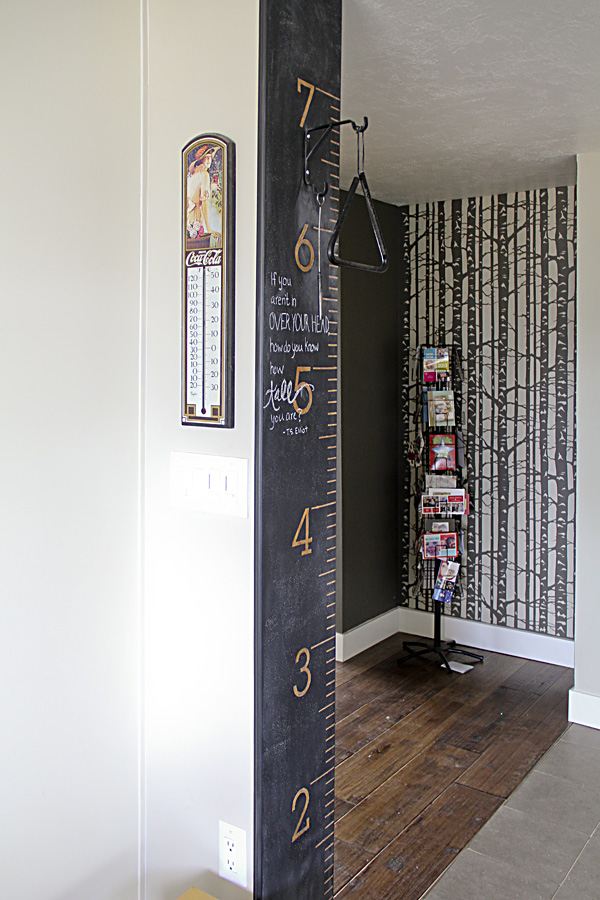
A perfect spot for a growth chart!
I didn't take any in-process photos because I wasn't completely sure it would work out. And it certainly isn't perfect. I decided to do a reverse effect and let the wood show through where the numbers are. To do this I printed the numbers out on a full sheet of label stock and cut them out with an X-acto knife. I cut strips out of the same label sheet with a paper cutter, and then cut them to length. First I sanded the board really well, then I then carefully measured and stuck the labels to the board.
In case you are wondering, yes, it is accurate—at least to about 1/8", which is close enough for measuring height. I measured very carefully! :)
After my labels were in place, I painted 3 or 4 coats of chalkboard paint. This is where I erred. I should have primed in addition to the sanding. I had bubbles in my paint. This may or may not have happened anyway, I'm not sure, but it was very apparent afterwards when I rubbed chalk over it to season it. By then it was too late to sand and recoat because I had removed all of the stickers.
The other problem is that the stickers didn't come off very easily and paint bled under them in places. If you look closely my lines aren't perfect. But life is too short to worry about perfection. Good enough.
After taking these photos I decided to clean all the chalk off, which makes the bubbles much less apparent. I still like the matte black finish, even if it doesn't function as a chalkboard. I mark the heights in pencil anyway because I don't want them to rub off. The pencil marks are a little hard to see on the dark color, but that's okay with me too because it stays looking clean.
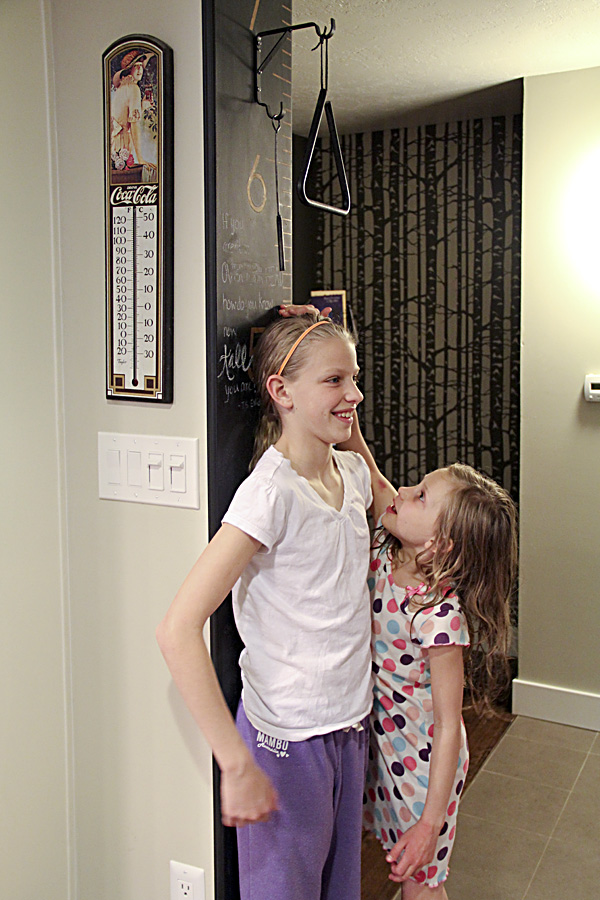
I only wish I'd done this sooner! Abby is already 5'2" at 10 years old. Crazy. It will be interesting to see if the other two are even close. So far the tallest mark is at 6'3" (my brother). Any taller and my little dinner bell interferes with the measuring... but oh well, the dinner bell has been here forever and it will stay for nostalgia sake!
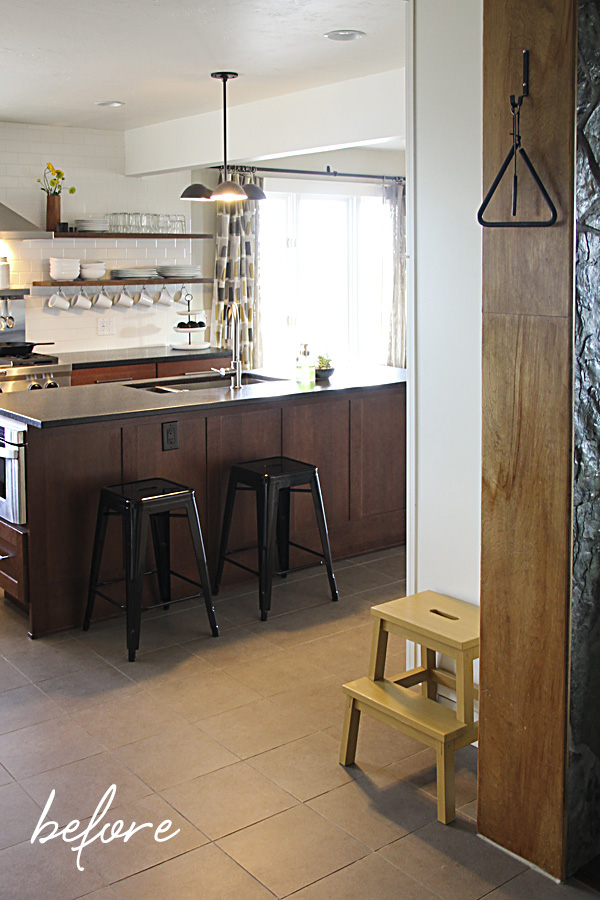
Beyond the growth chart is a little niche leading into the living room. It used to look like this:
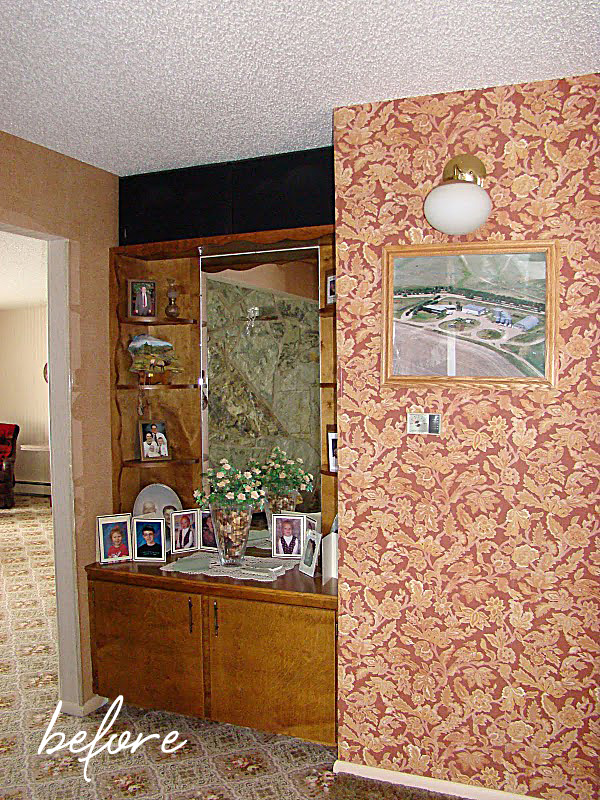
Crazy, huh? We still plan to put a desk/command center here for me to use for cookbooks, my laptop, and school paraphernalia. I'd like to have my dad help custom build it to look something like this with little niches and closed storage, but he is a busy man and I might get impatient and find a solution I can piece together with stuff I can buy. Depends on which comes first—time or money.
In the meantime, the wall was in rough shape from removing the mirror that was glued to the sheetrock, so I decided to stencil it using this stencil from Cutting Edge Stencils. The process was quite easy and it was less expensive than the Woods wallpaper I love. The main reason I bought the stencil was for an area in my entry that I will show you in an upcoming post. That area I painted with dark over light, but since I already had this spot painted dark gray, I stenciled light over dark and it turned out just fine. I used regular latex wall paint and a foam roller. I would definitely try this technique again—much easier than hanging wallpaper!